Prepping the Overlays
Before you can output your overlays with Sony Virtual Production, you have to prep them in Studio. Learn how to prep your overlays in Studio in steps 1-4 of the Beginner's Guide.
Outputting with Sony Virtual Production
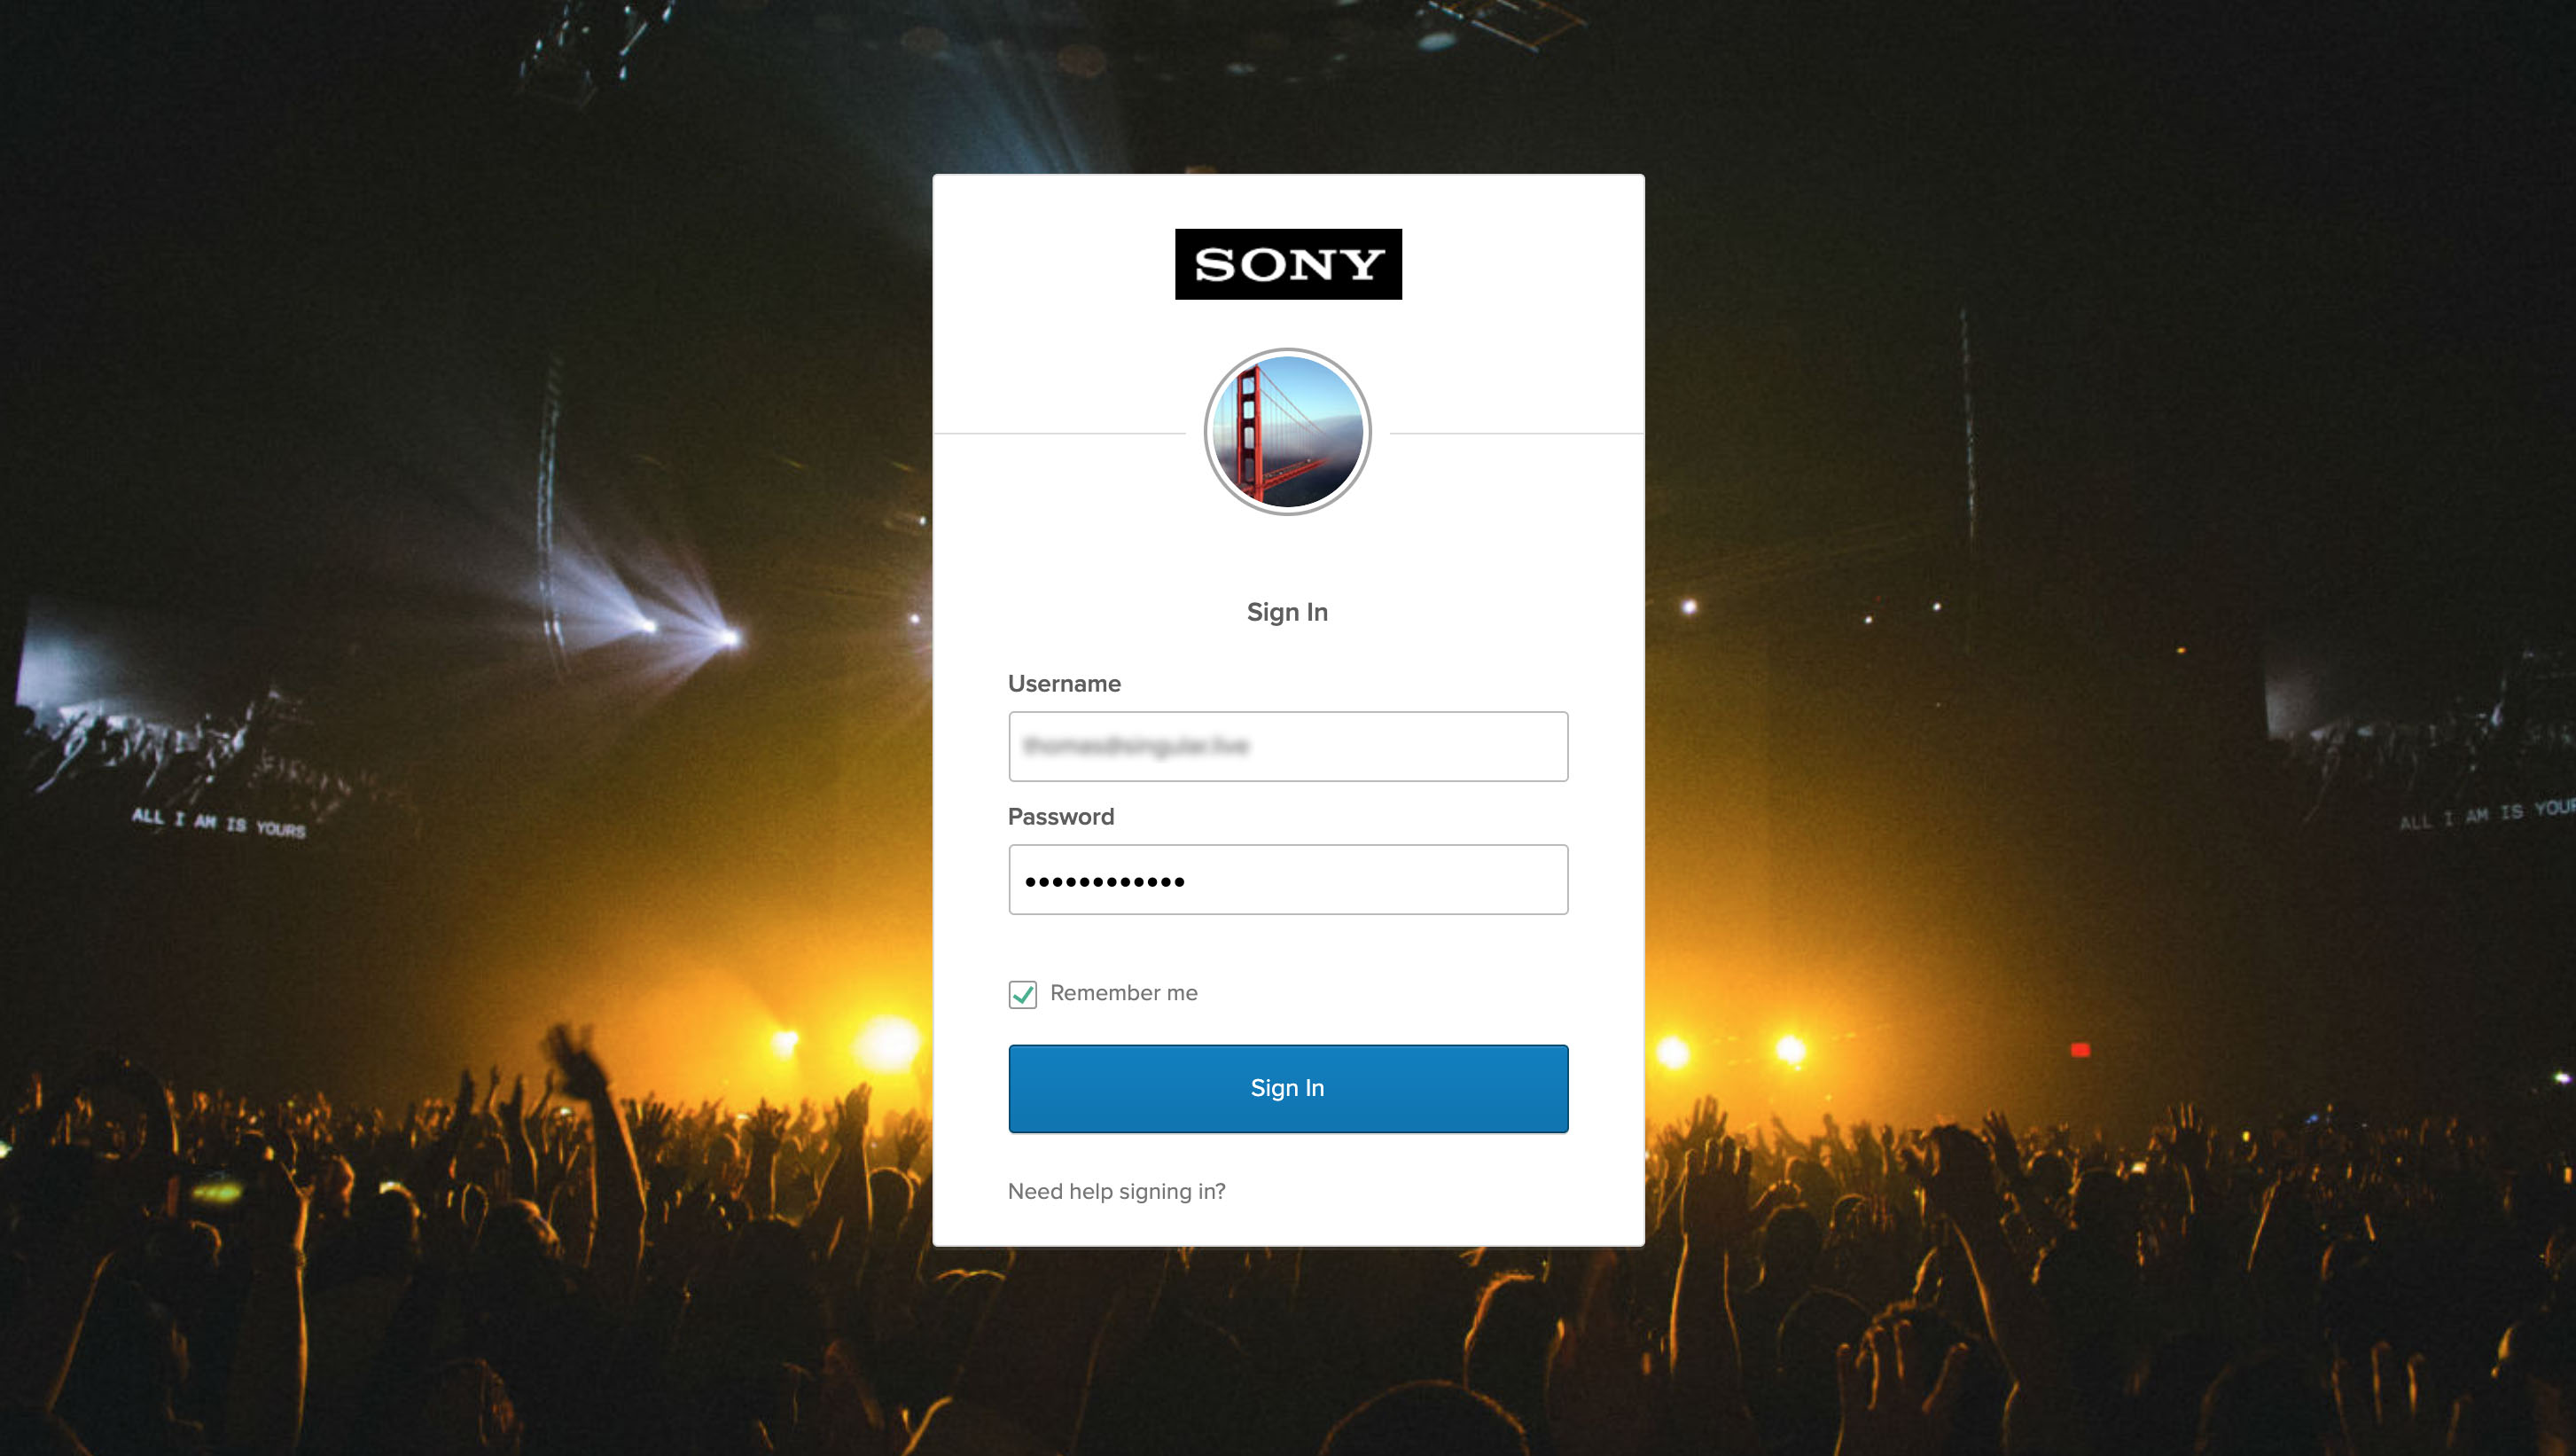
1 - Login to Sony Virtual Production
2 - Create an Event
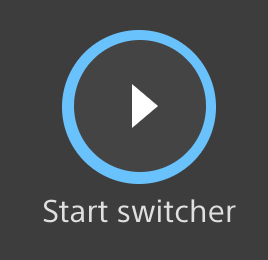
Hit the "Start switcher" play button. Creating the Event will take around 3-5 mins.
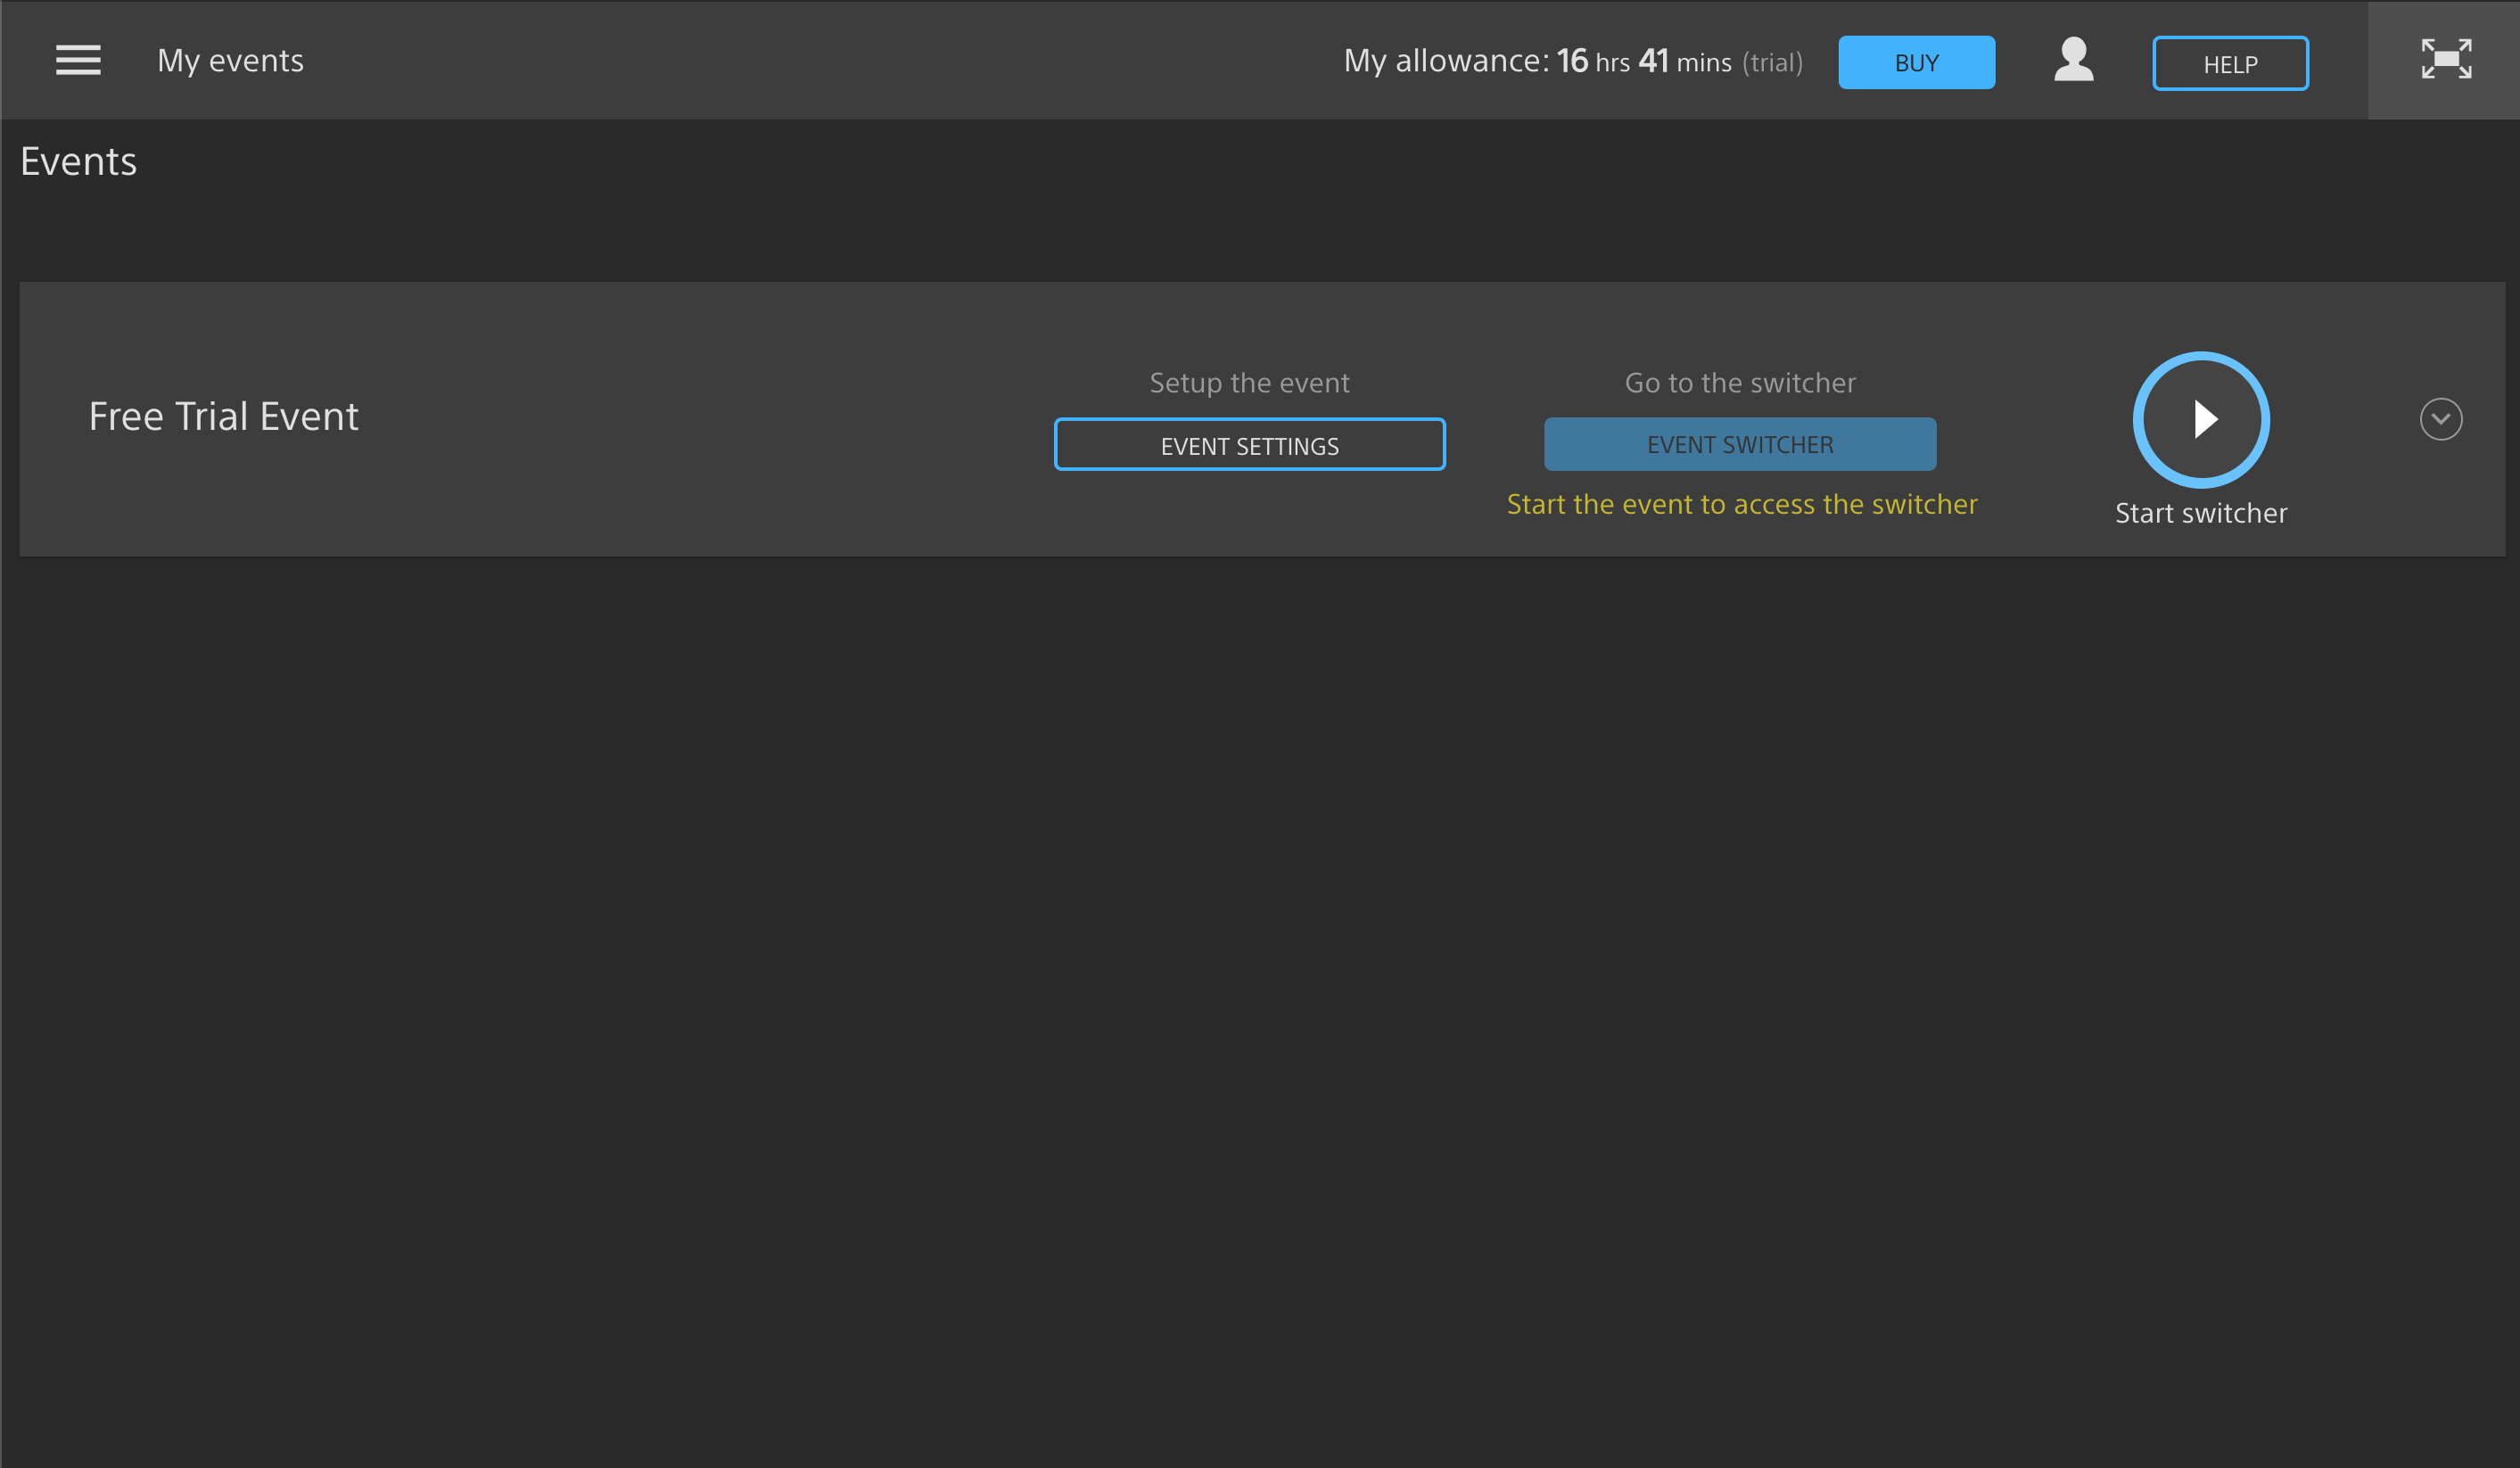
"My events"
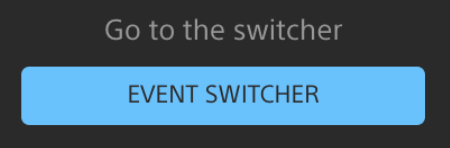
Once the new event has been created, hit the "EVENT SWITCHER" button to enter the Event.
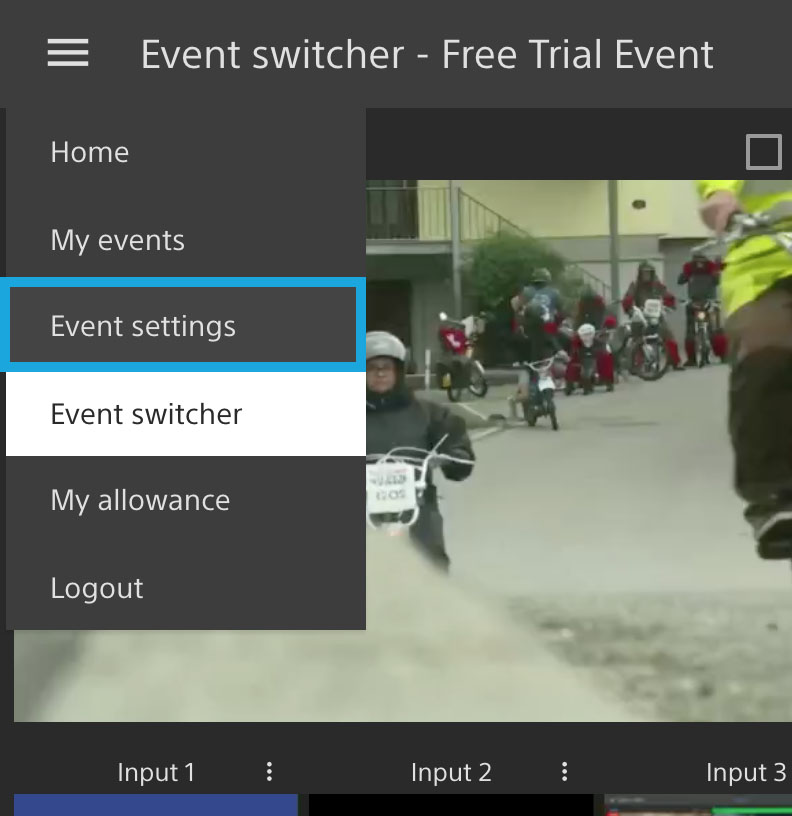
3 - Customize Event Settings
Now that you are inside of your new Event, you'll need to set it up.
New Event
Select the Event settings button in the top left menu (blue option in image pictured below).
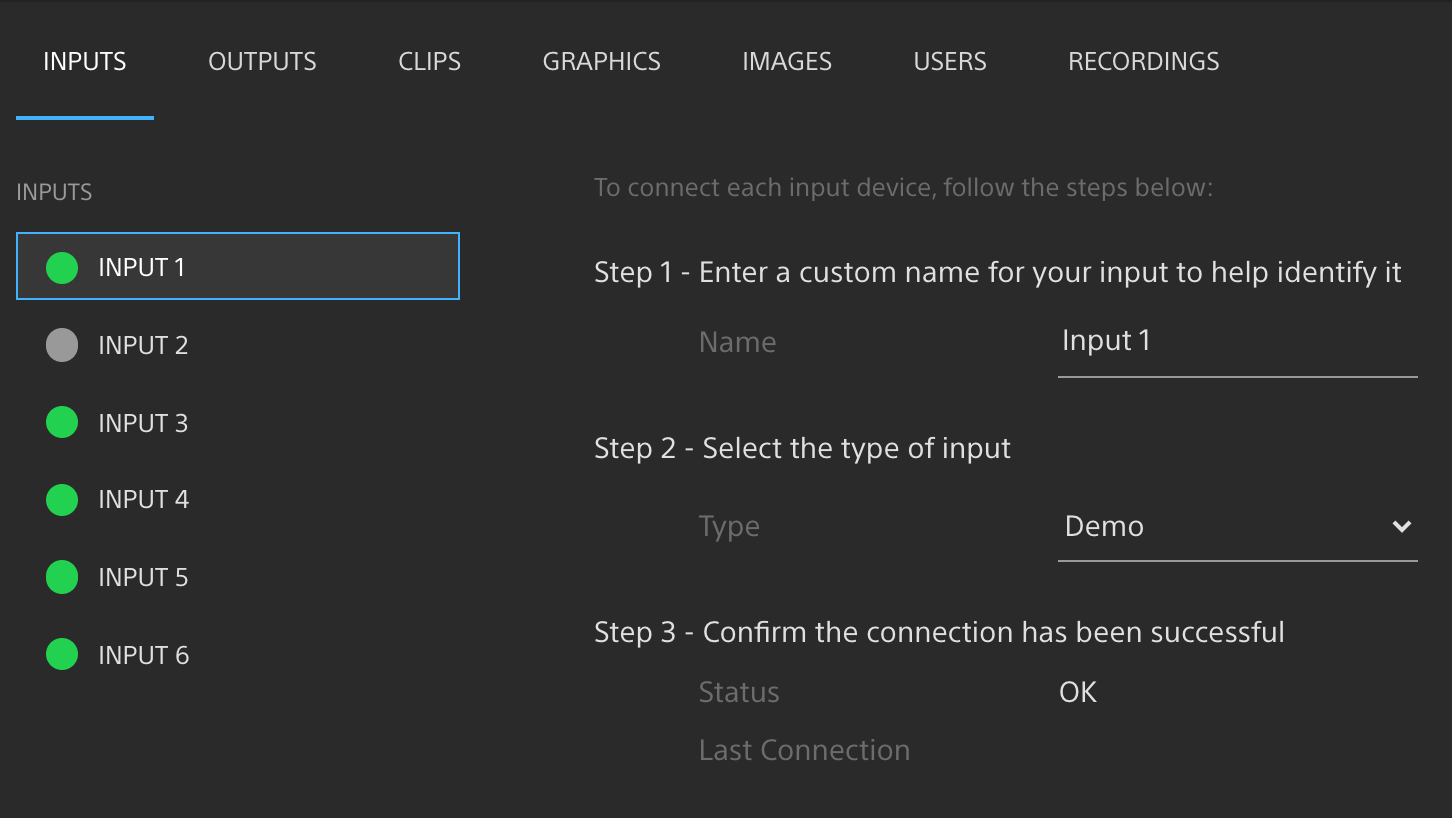
Set up your video inputs and outputs as desired in their respective menus.
Hit the graphics tab menu to set up your Singular overlays. Next to "Select your graphics engine", choose the "Singular.live" option.

Singular.live graphics engine selected
Now, hit the "LOGIN TO SINGULAR" button to login to your Singular account.
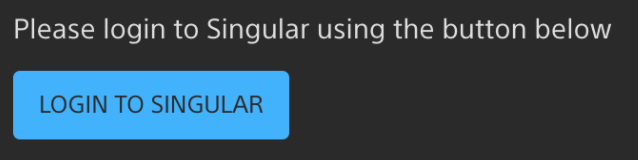
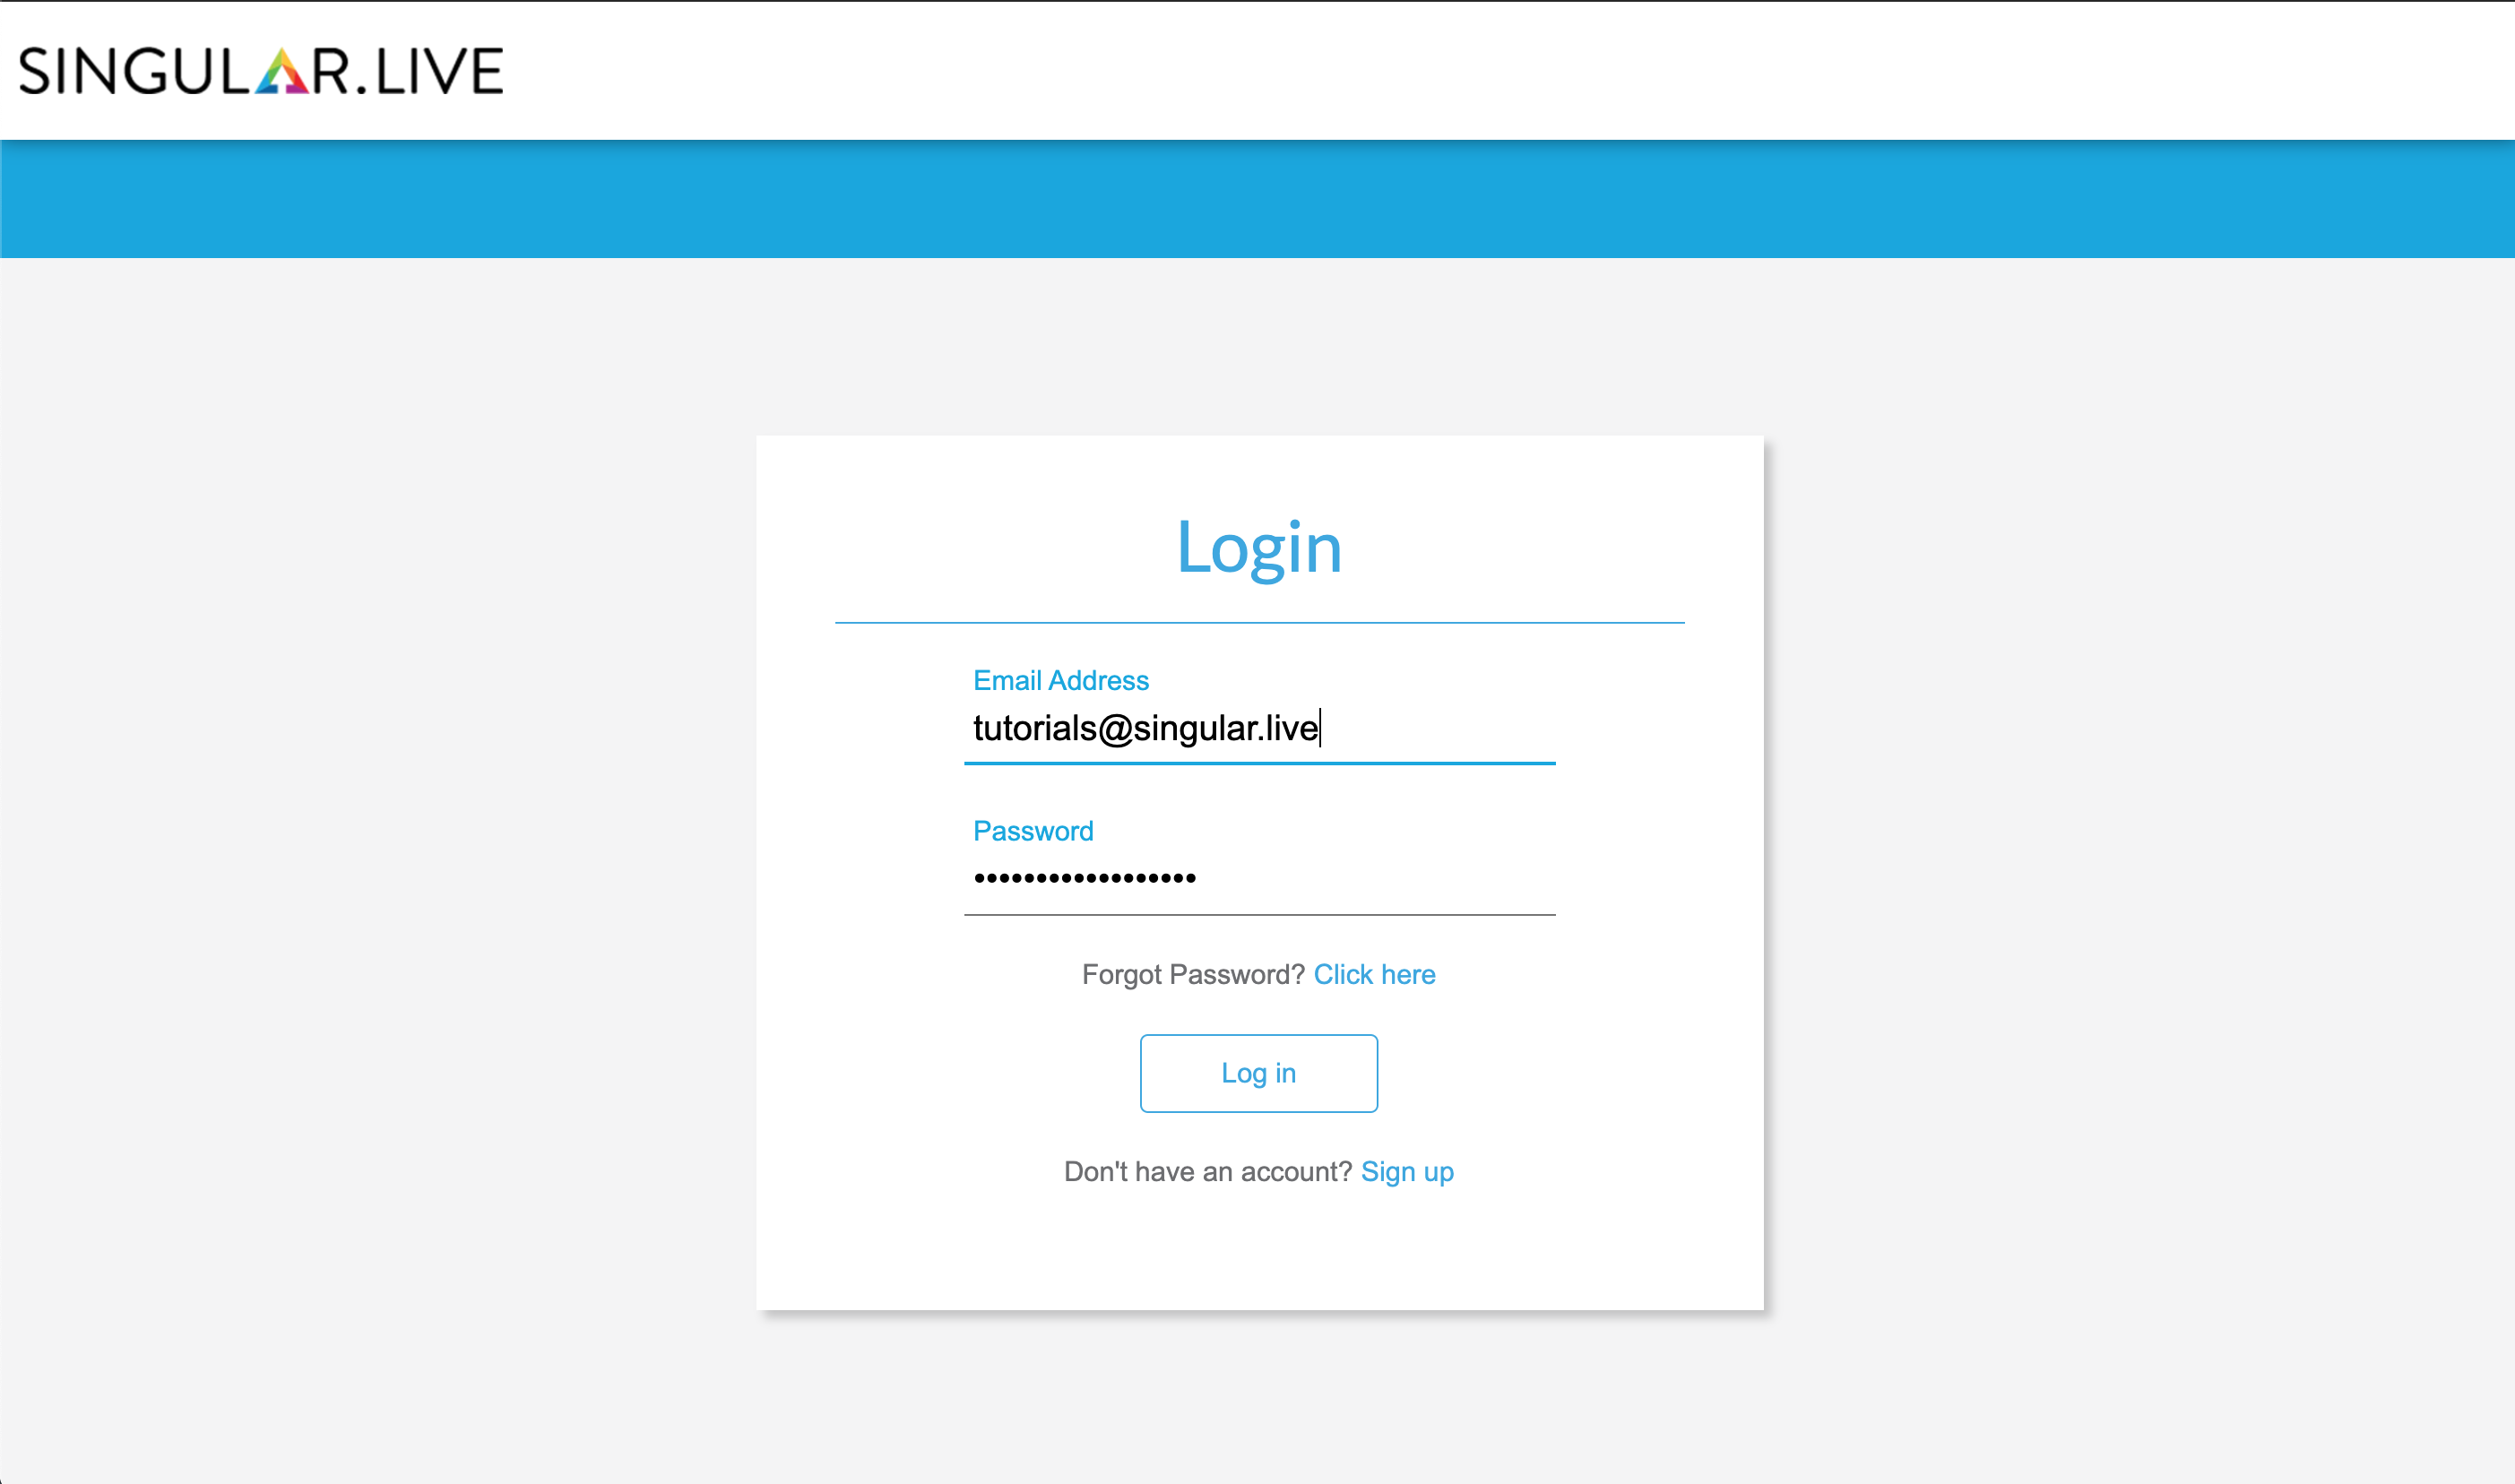
Singular.live account login
Browse through the Singular Dashboard and find your desired Control App. Then double click it.
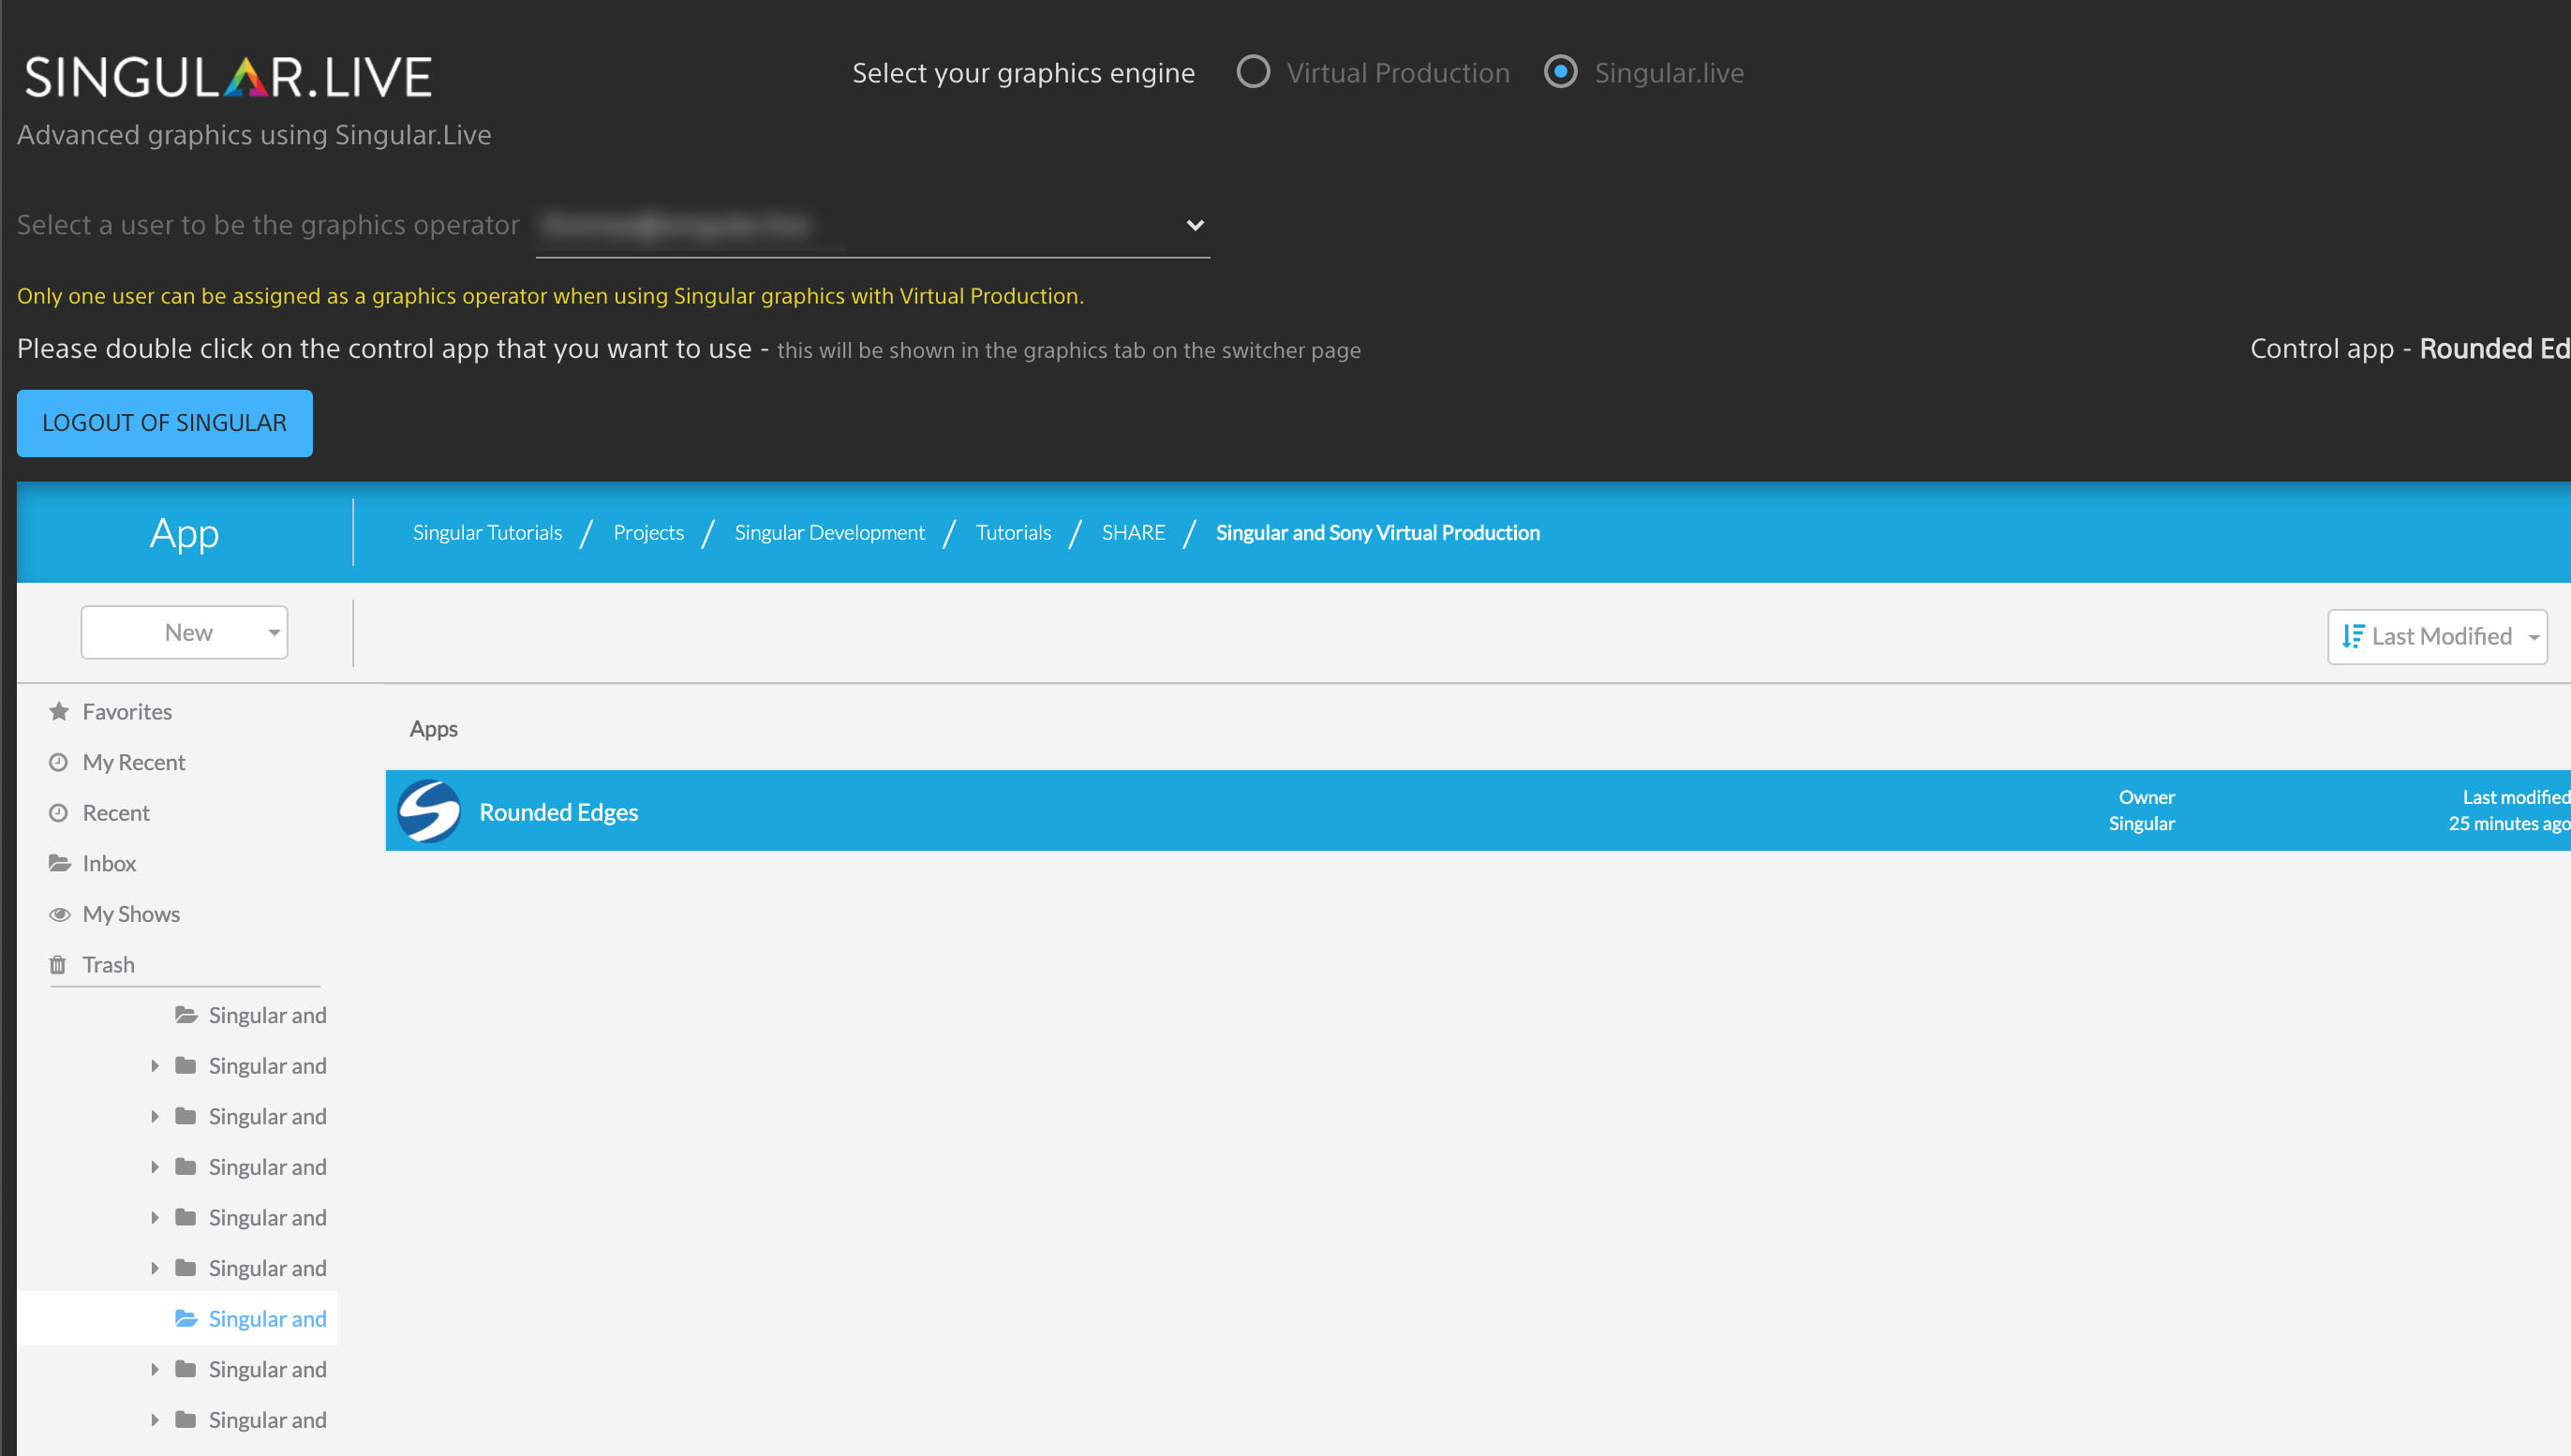
Double click a Control App
When double clicking on your Control App, the name of it will appear in the upper right of the interface, indicating that you have successfully selected it.
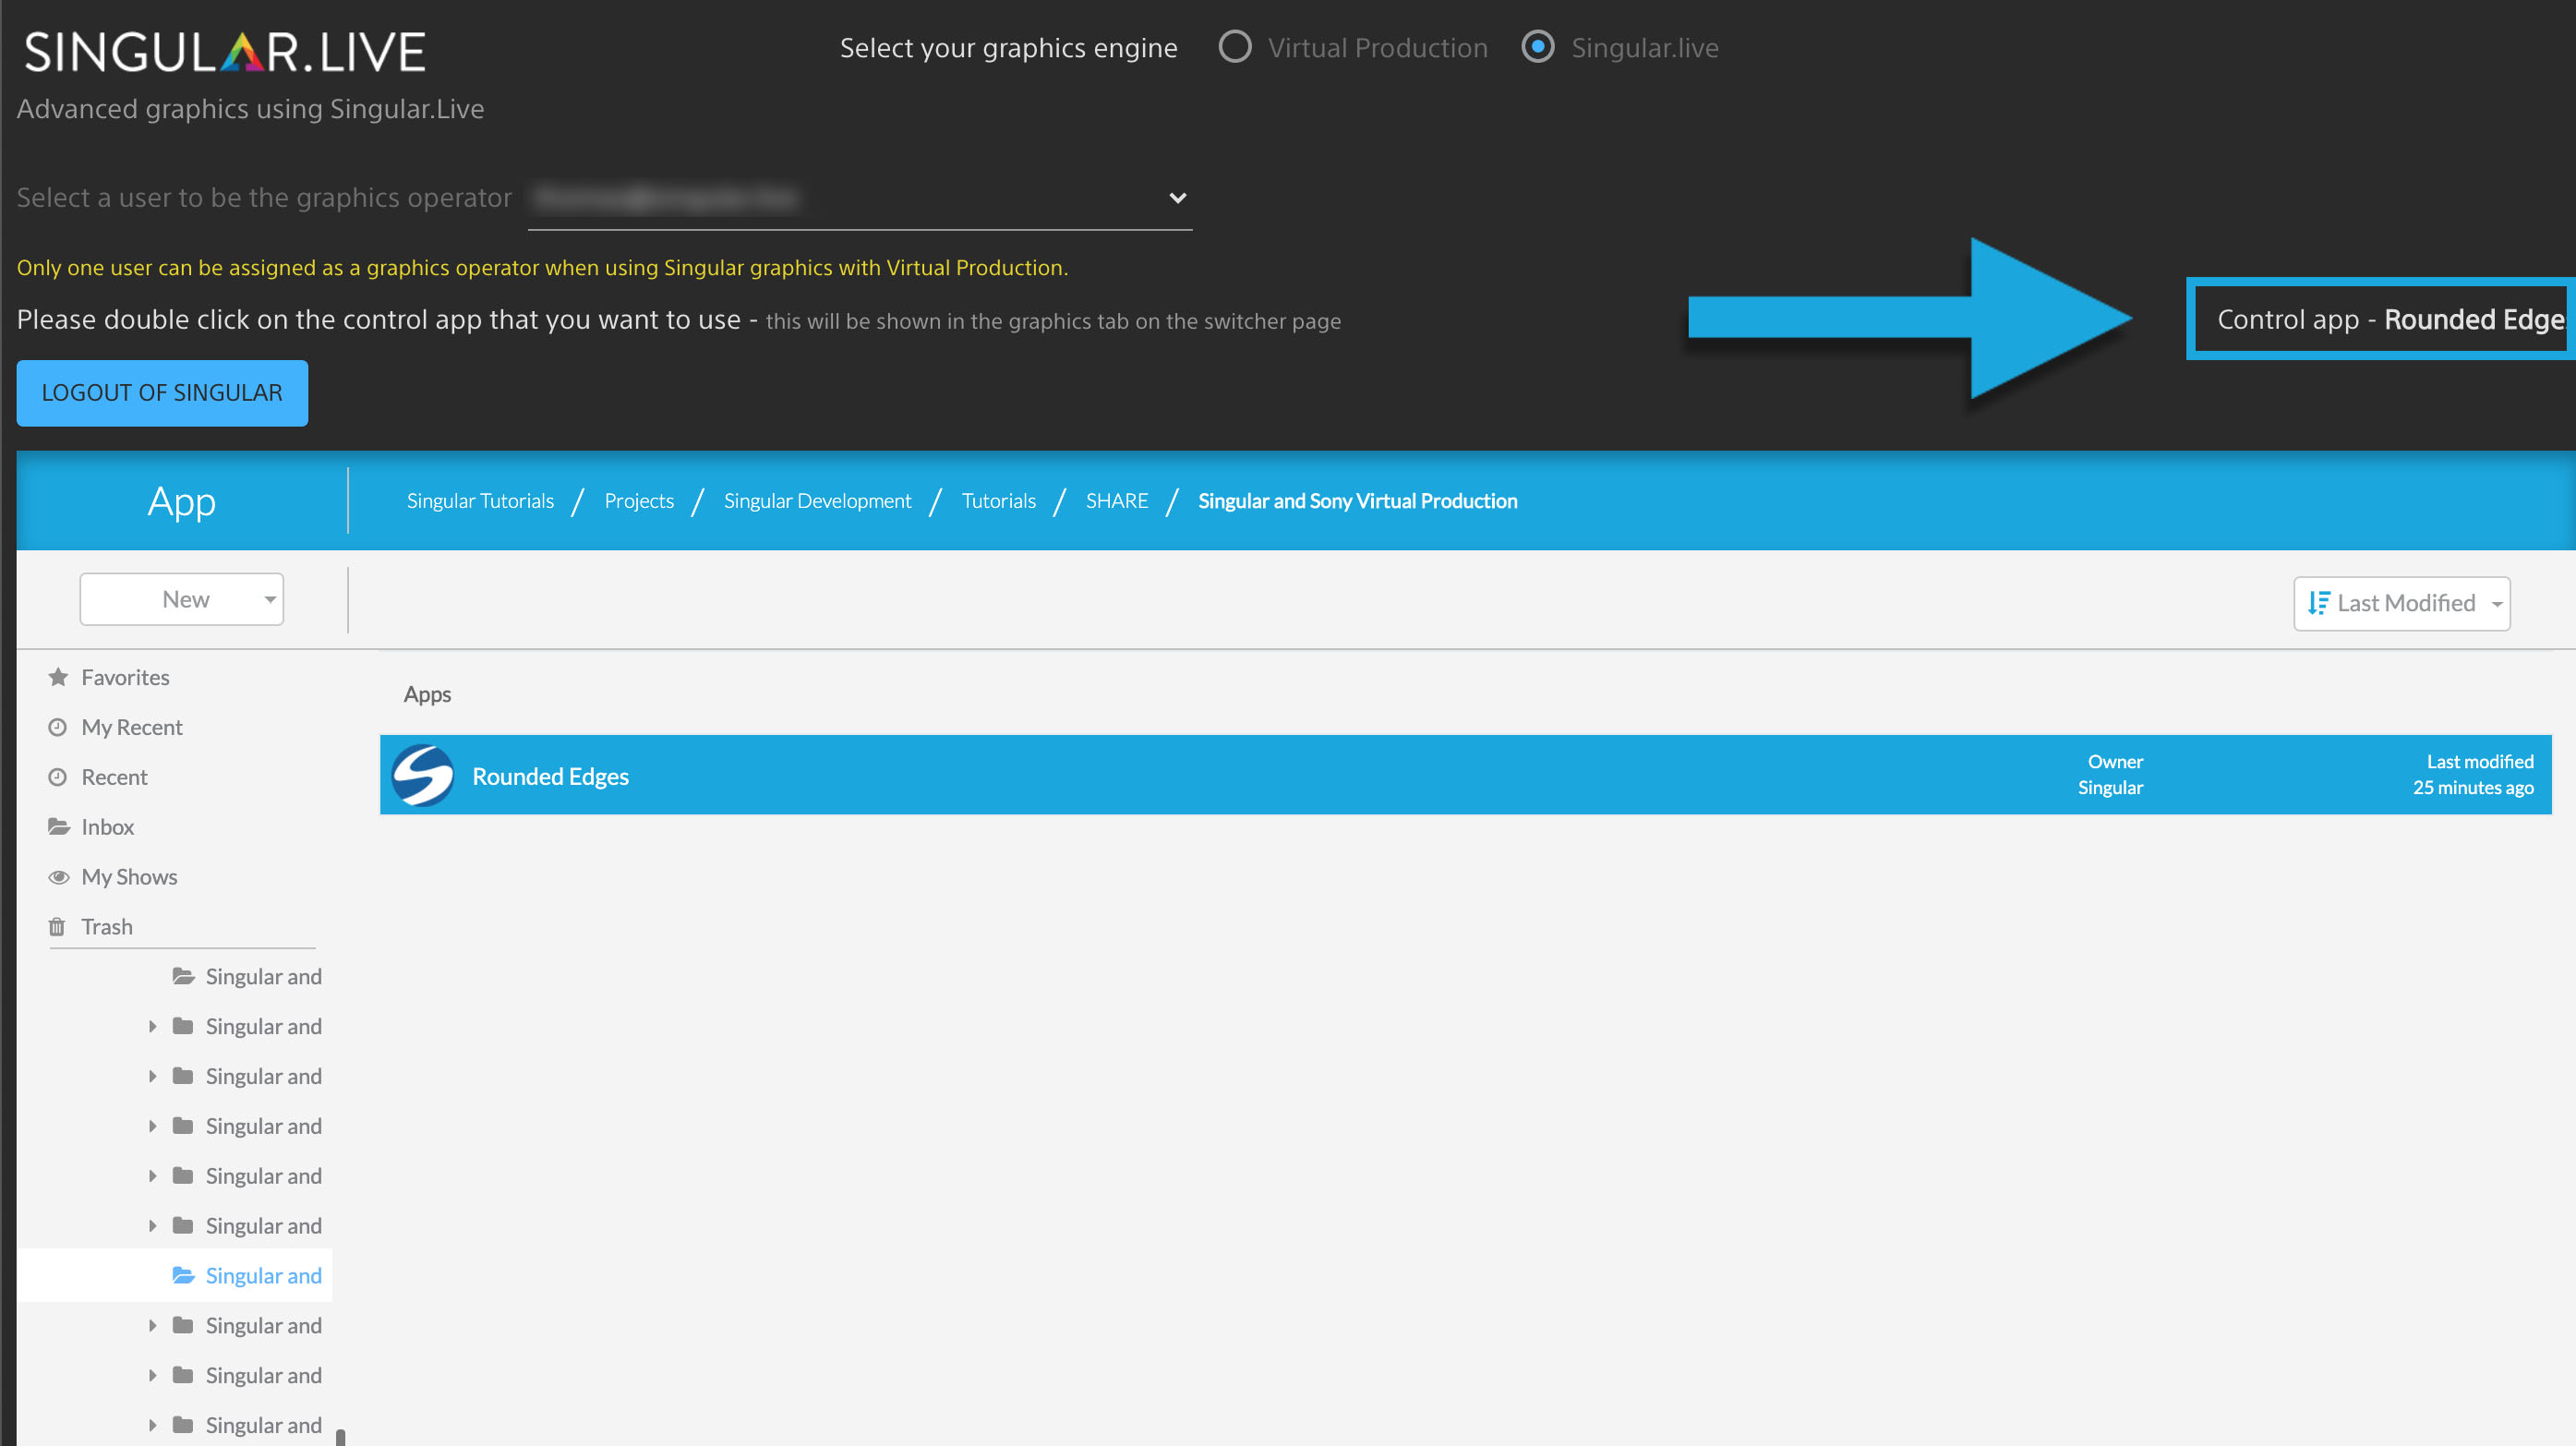
Selected Control App name
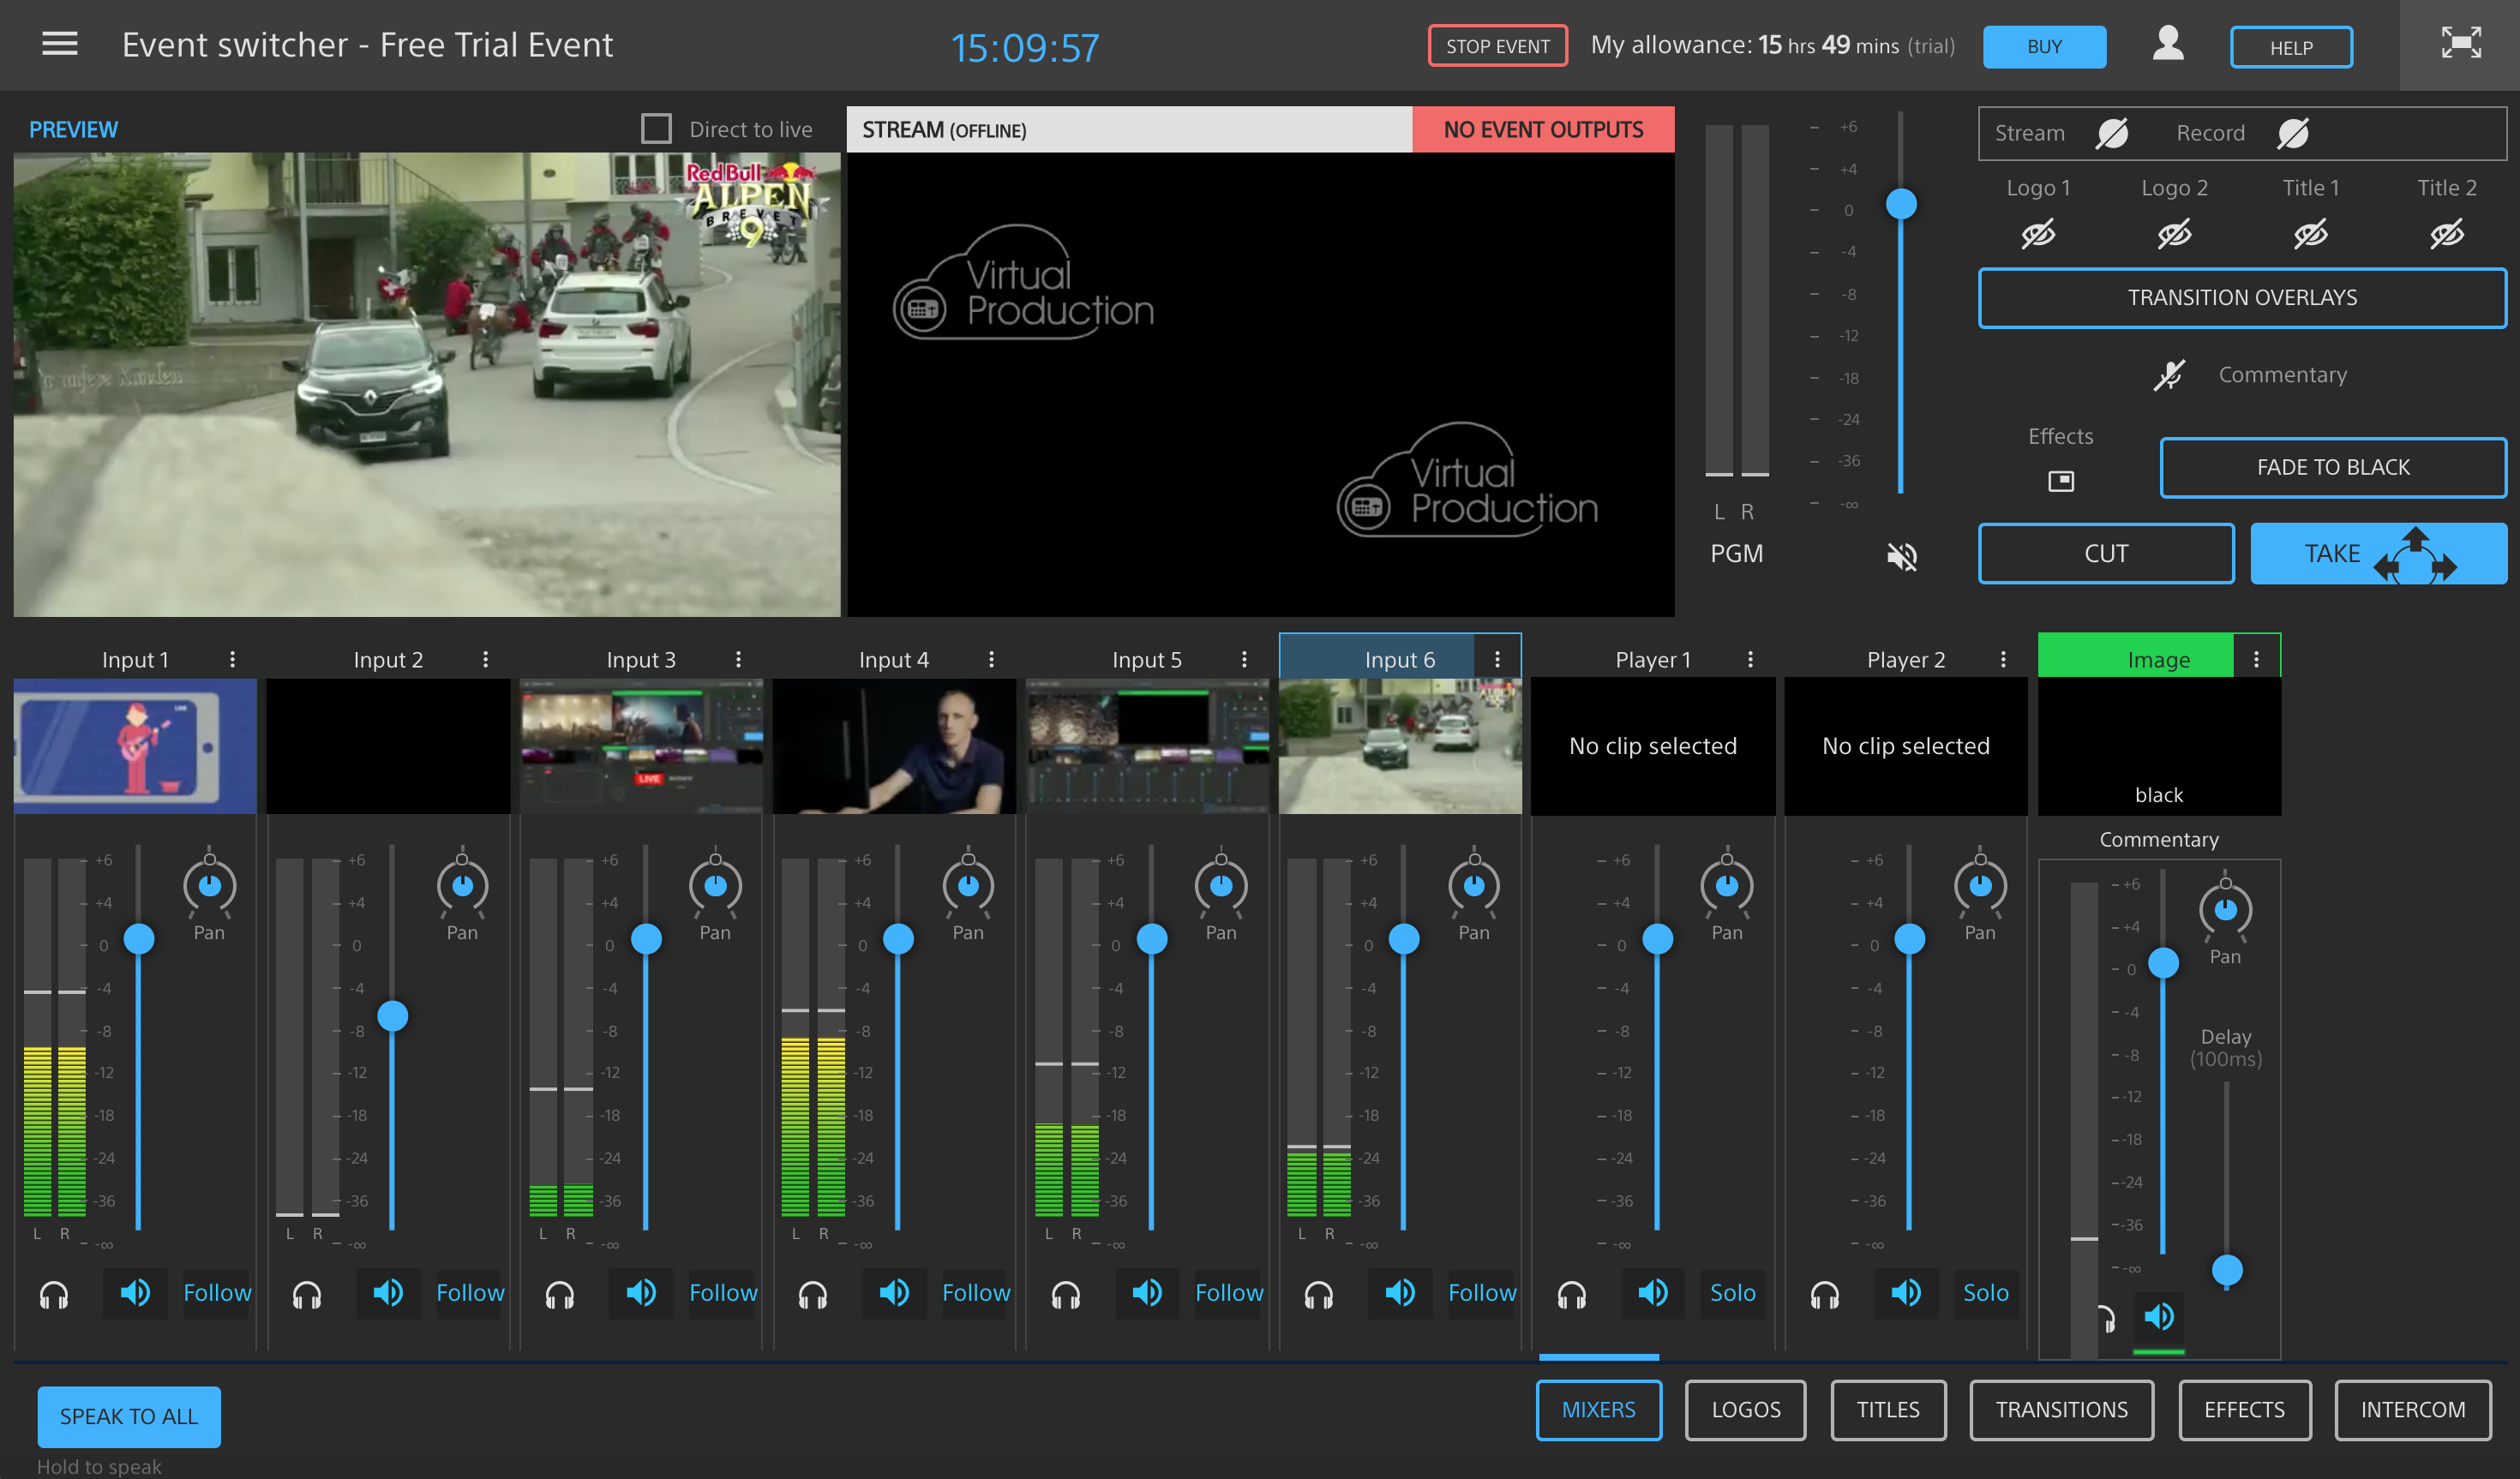
4 - Navigate Back to Event Switcher
Now that you have completed the settings for your Event, you're ready to head back to the Event switcher. Select the "EVENT SWITCHER" button in the upper right corner.

Now, select the "GRAPHICS" button in bottom right to start operating your Singular overlays. Go ahead and view this interface in fullscreen mode.
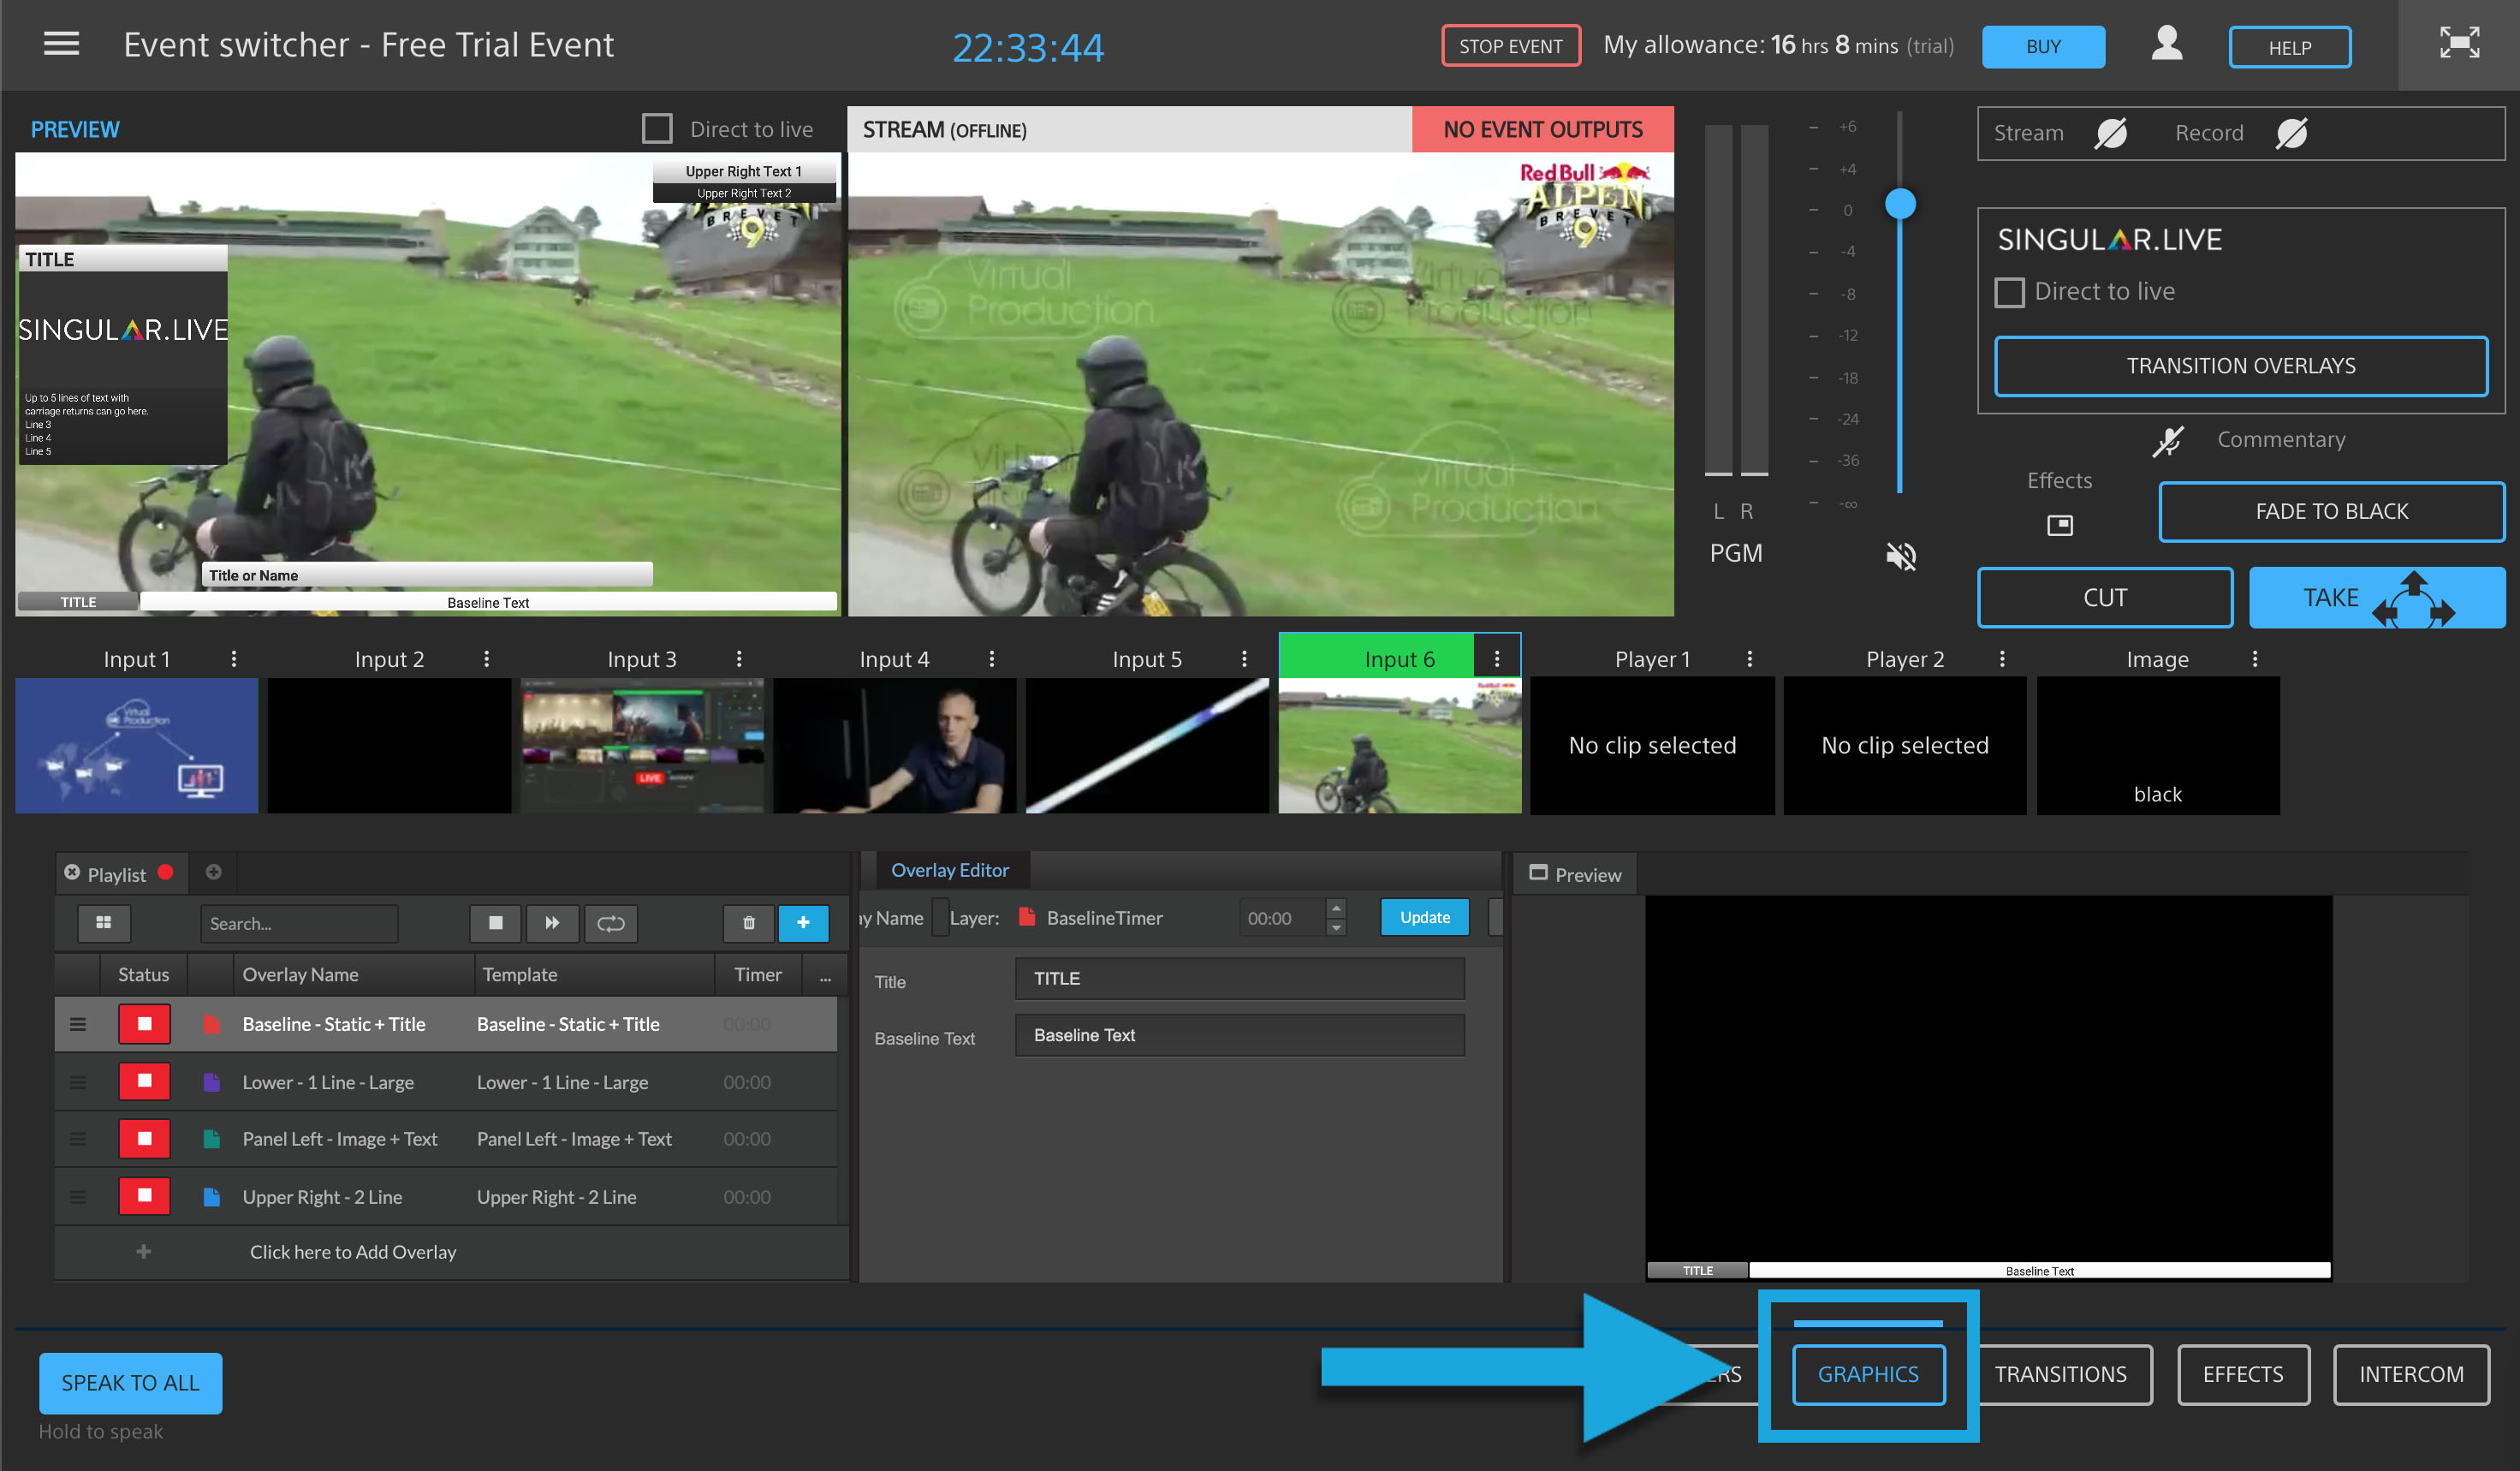
Event switcher Graphics Operation UI
5 - The Overlay Operation Panels
Once "GRAPHICS" has been selected, you'll be viewing three new panels in the bottom portion of your Virtual Production interface.
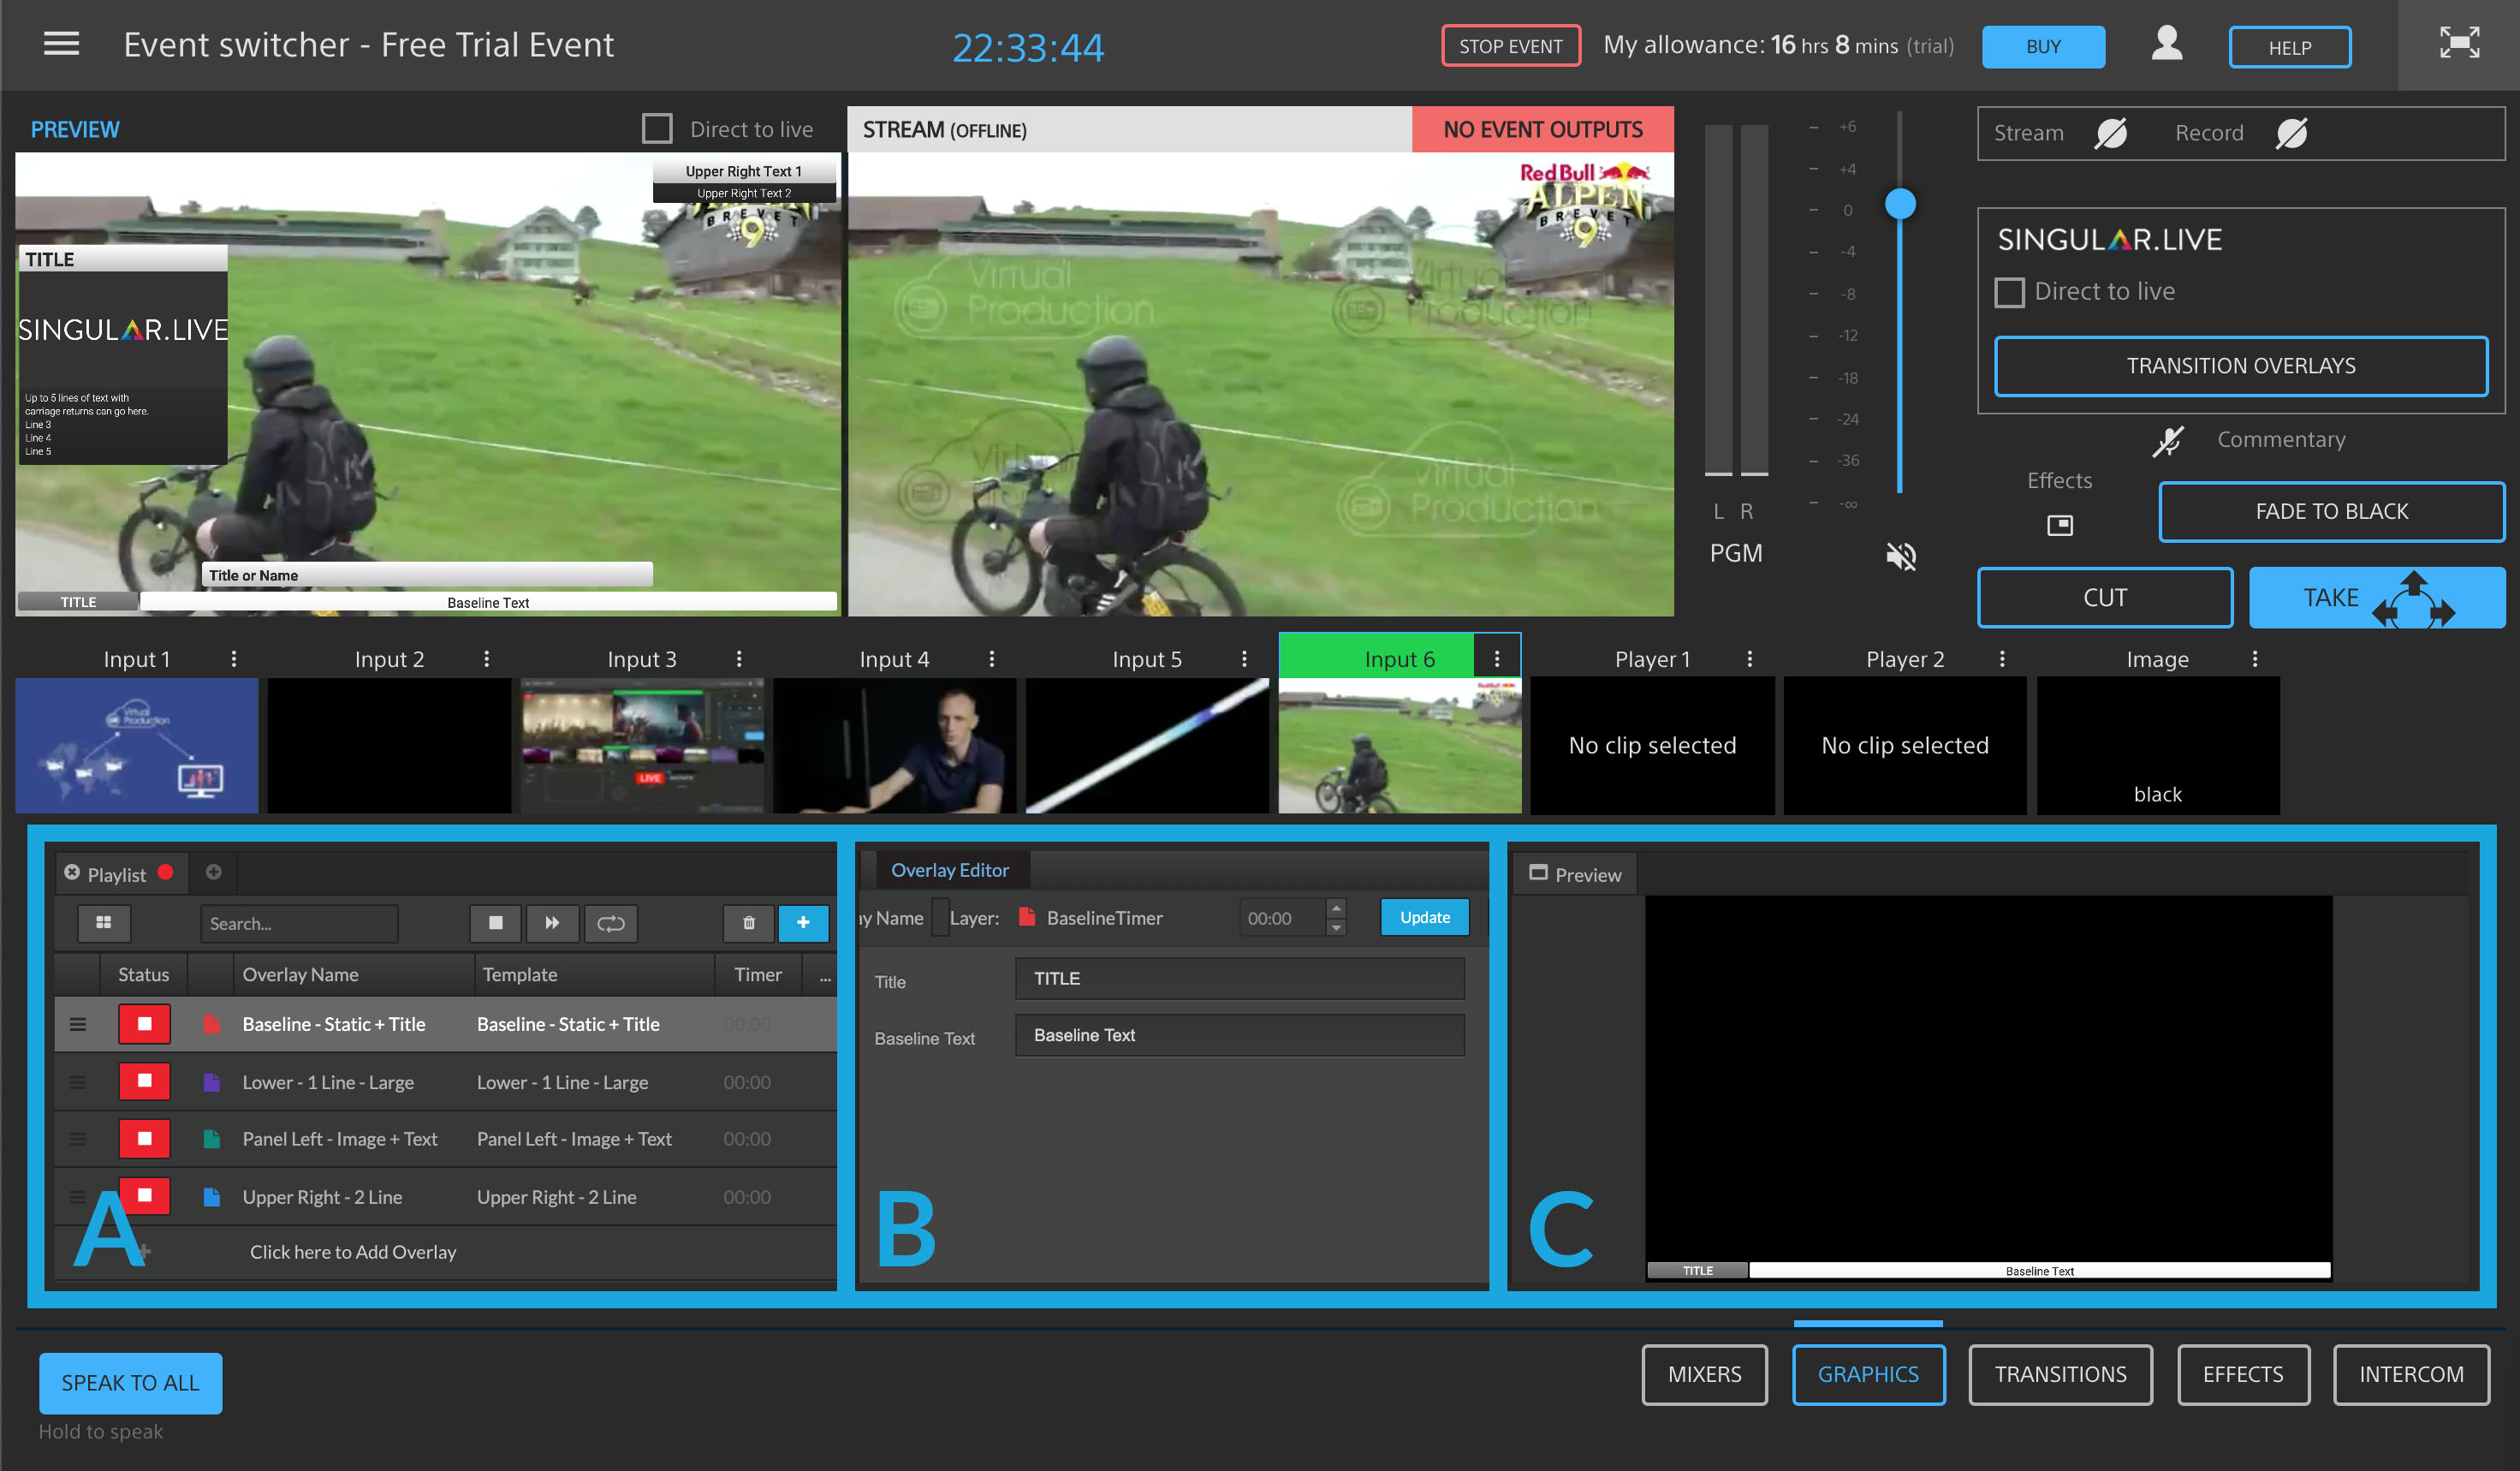
Event interface with Singular.live graphics engine selected
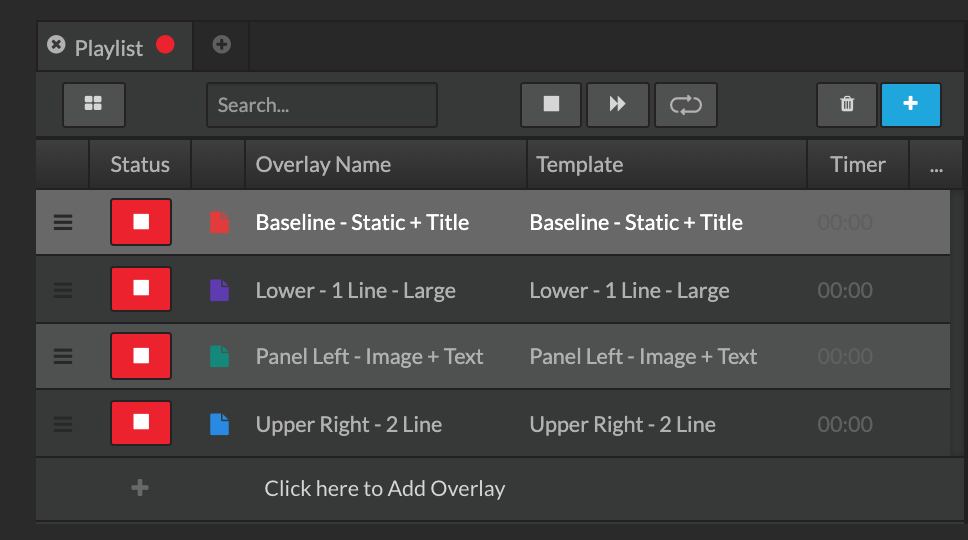
A. The bottom left "Playlist" panel is designated for operating overlays and, more specifically, playing them in and out of the upper left PREVIEW window.
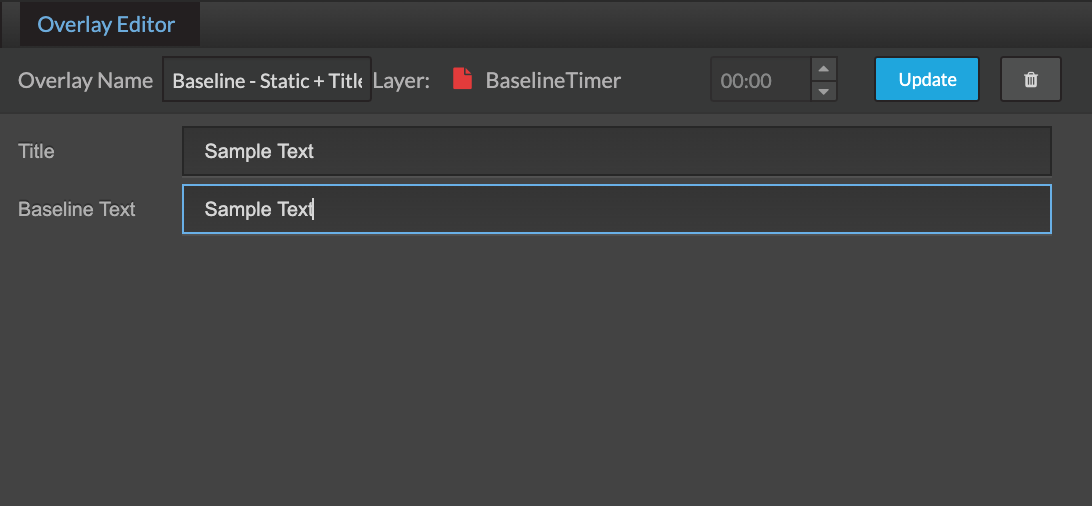
B. The panel to the right of the "Playlist" panel is called the "Overlay Editor". This panel is designated for updating/changing the contents of your overlays.
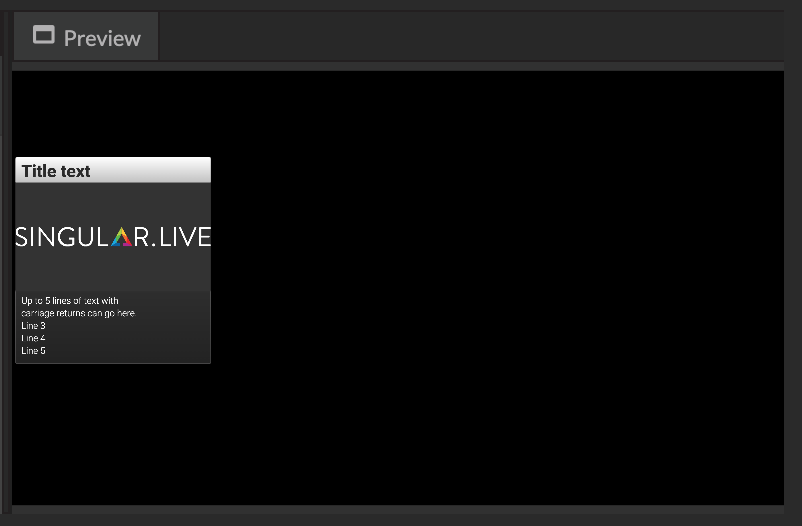
C. The Preview window to the right of the Overlay Editor panel is designated for previewing the overlays with content added/changed inside the Overlay Editor's fill in forms before playing them into Sony's upper left PREVIEW Window.
6 - Taking Overlays On-Air (to Program)
To take your overlays from the upper left Preview window and into Program mode (on-air), select the "TRANSITION OVERLAYS" button in the upper right corner underneath the Singular.live logo. The Transition Overlays button will also take your overlays back out of Program mode if you have played them out in the Playlist panel.
![]()
"TRANSITION OVERLAYS" button takes overlays on and off air
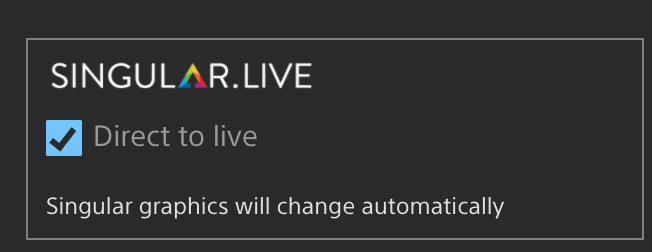
The "Direct to live" box, when activated, makes all your overlays play directly to Program mode when hitting the Play buttons in the playlist panel. This option overrides the TRANSITION OVERLAYS button.
Tip for Advanced Users
The Sony Virtual Production Singular integration allows for scripting to be seen in the upper left PREVIEW window before your overlays are taken to air.
Comments
0 comments