The following tutorial covers how to create a single adaptive graphic that "adapts" in appearance and contents to different outputs with only one instance of your Control Application. A common use case of this setup is if your show is being distributed to different regional locations that have different languages, sponsors, etc.
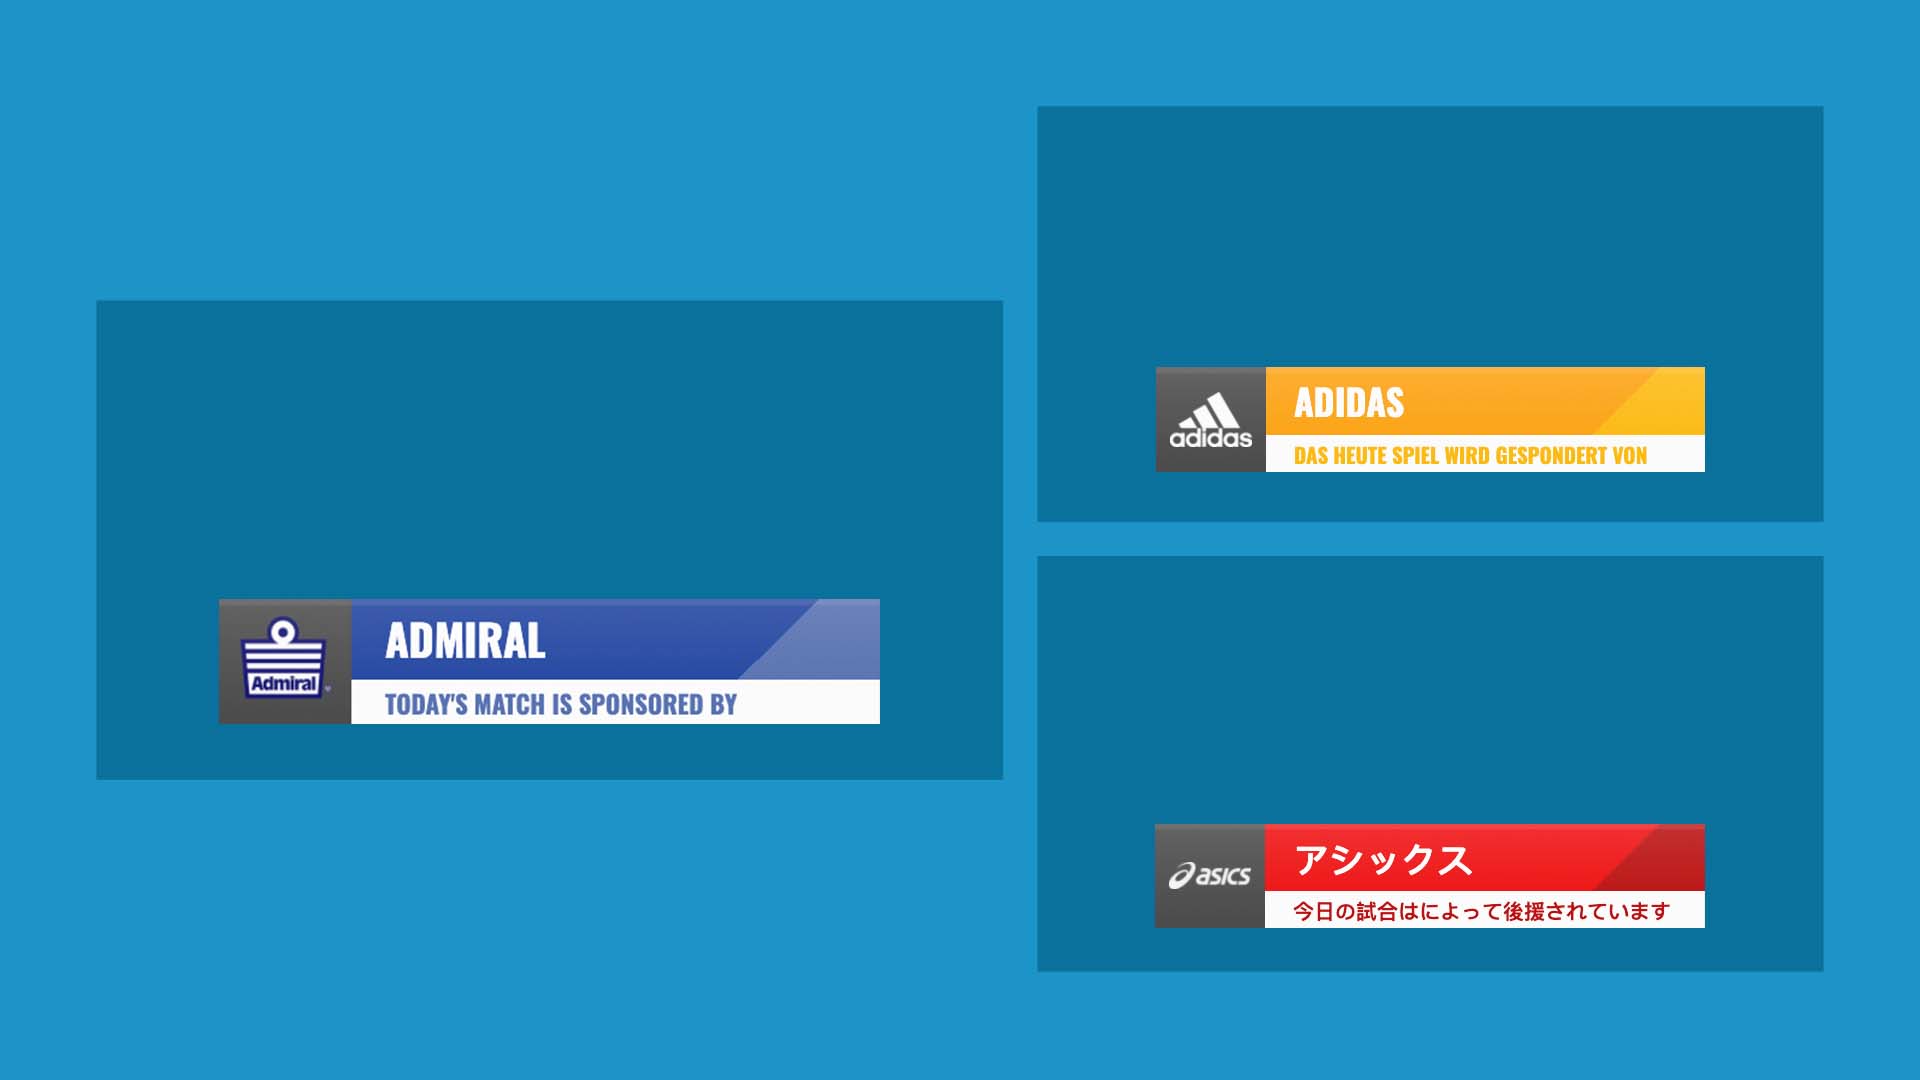
Check out the three images below. Three different versions of the same lower third sponsor graphic designated for three different outputs.
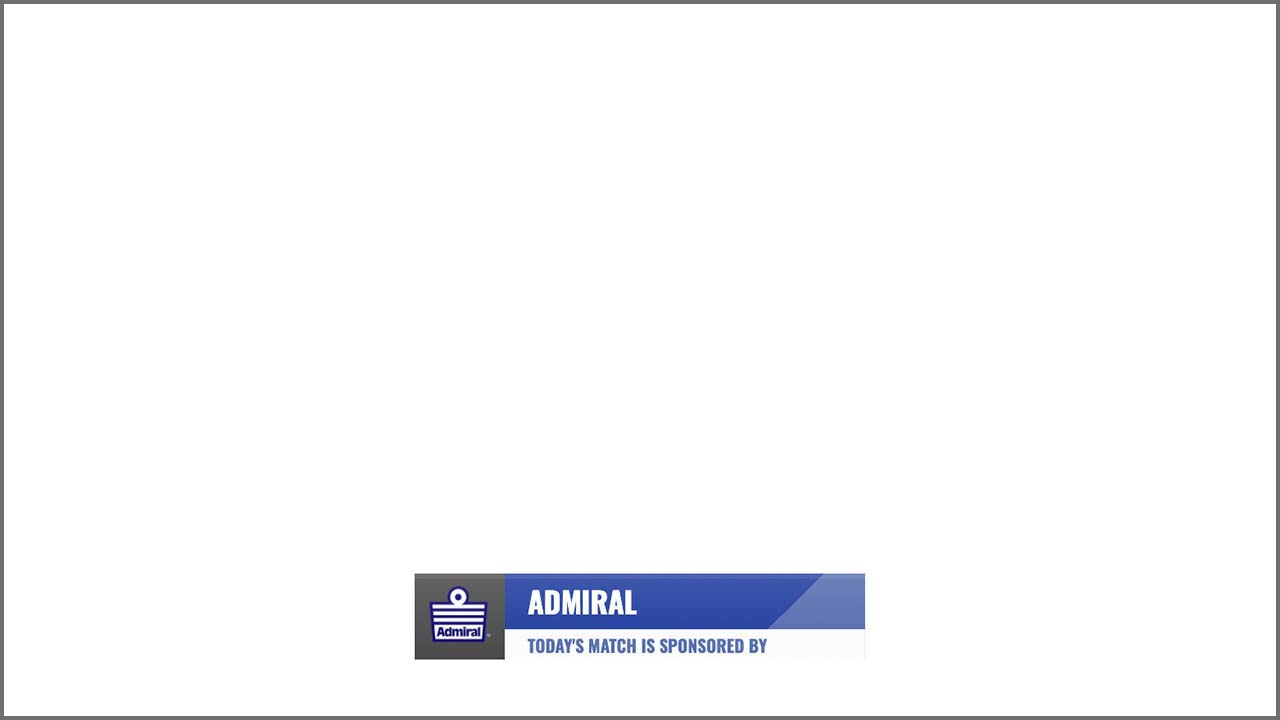
English:

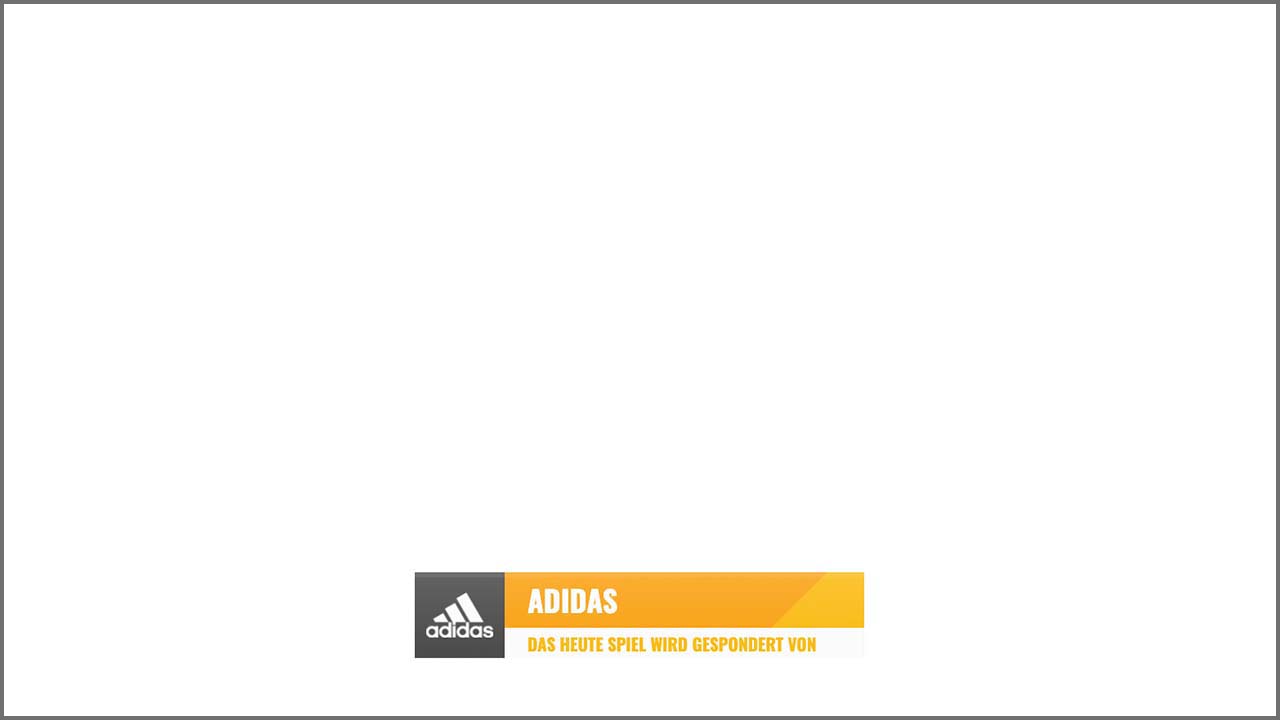
German:

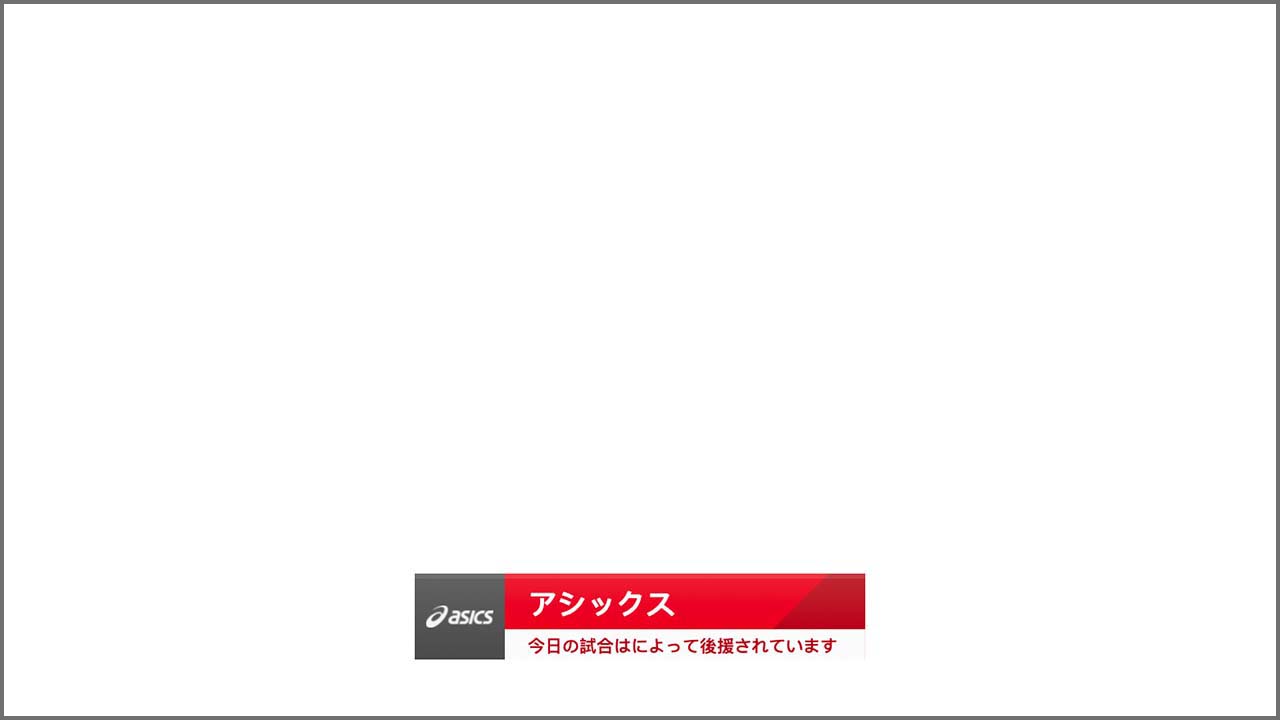
Japanese:

1 - Download Template Library Resource
Head over to the Template Library and download the resource Composition we've created for this tutorial titled "Adaptive Lower Third Sponsor".
2 - Inspect the Composition
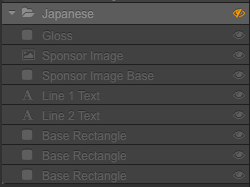
Dig into the Lower Sponsor Subcomposition and find that there are 3 Groups (folders) designated for each language version of the lower third: English, German and Japanese. Hide and show each group within the tree to see what has been created.
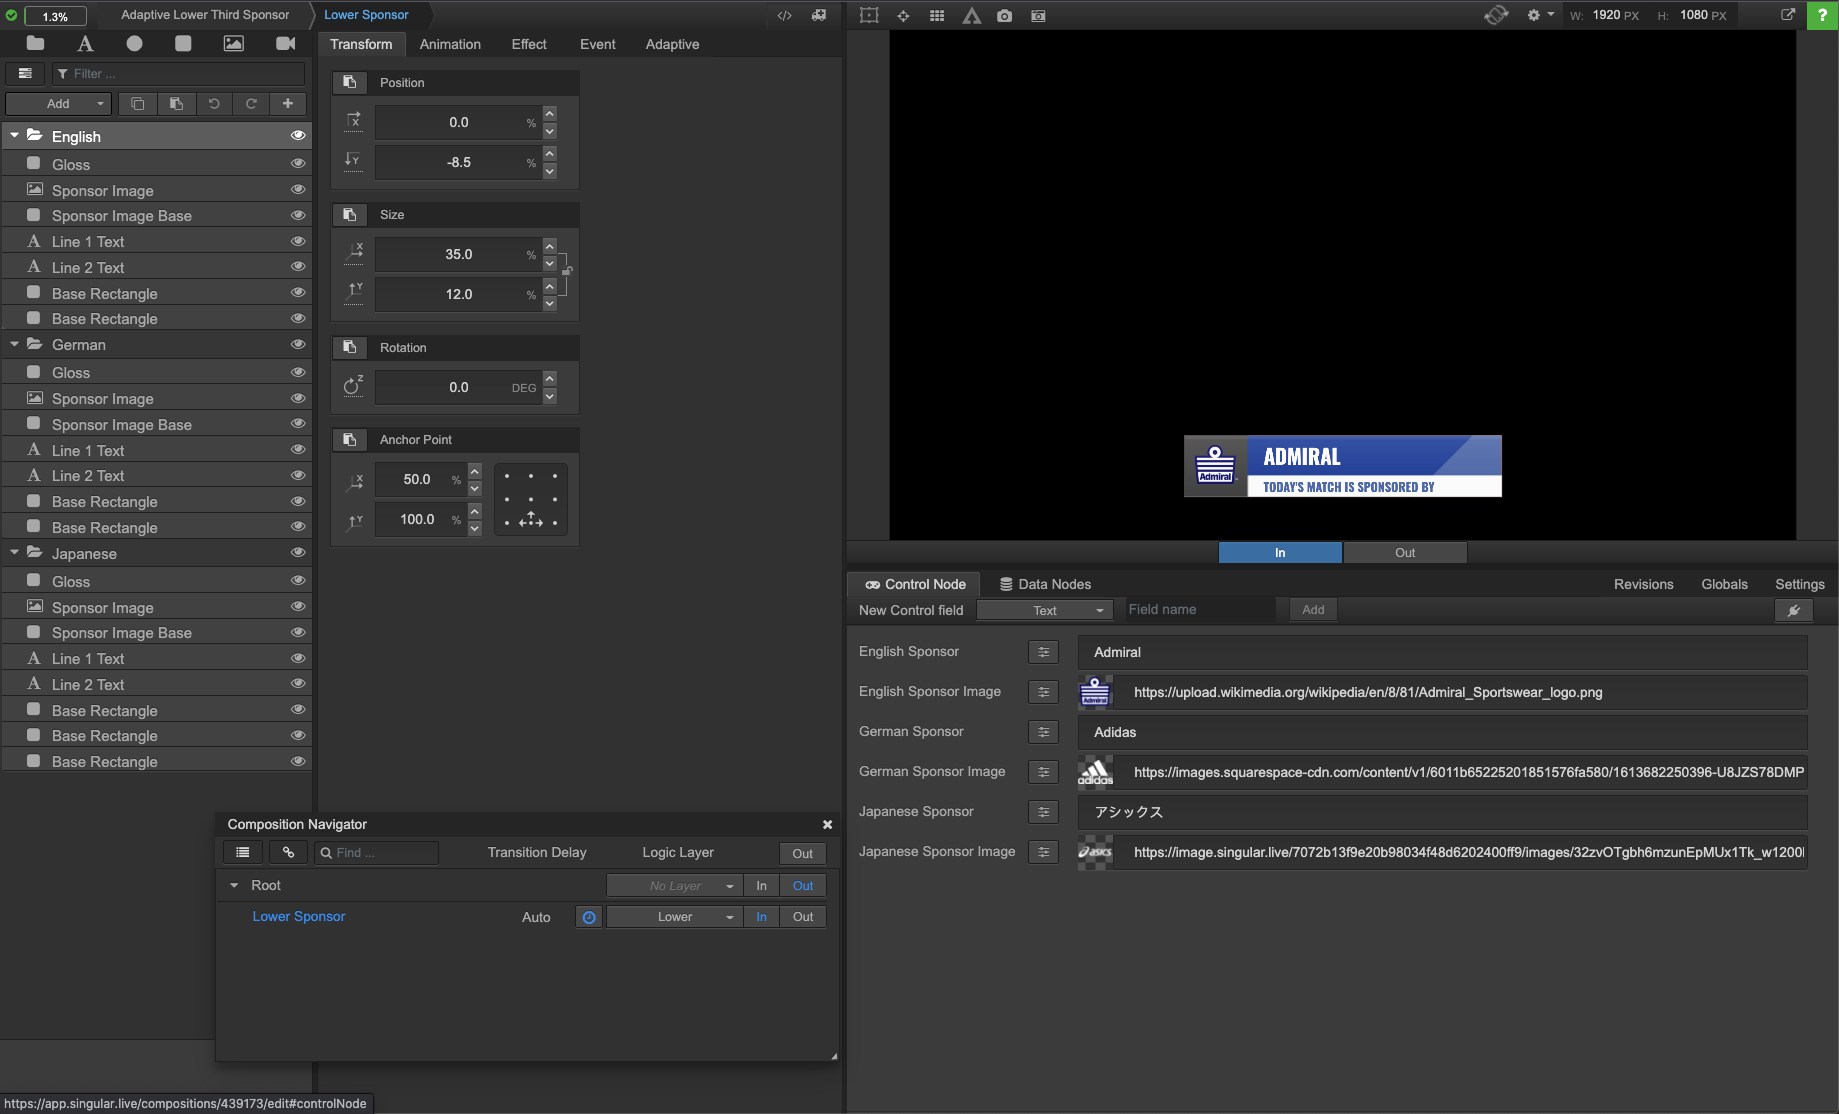
All the visuals of the graphics have been defined. There are Control Nodes created for the sponsor image and name. All that's left to do is assign each group to a specific language output.
3 - Define the Adaptive Settings for Each Version
A. Define Japanese Settings
Click the Japanese group (folder) in the tree and head over to the Adaptive tab. Next, select Language from the dropdown, choose " and type in "Japanese".


You've now defined this group to the Japanese output only. Notice that the Group is now hidden in the Composition Tree as it is hidden from your master output.
B. Define German Settings
Next, do the same thing for the German folder except type in "German" to assign the group of graphic assets to the German output only.

C. Define English Settings
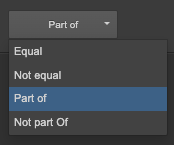
Lastly, for the English one, we are going to do something slightly different. Instead of selecting "Equal" from the Adaptive dropdown, select "Part of".

This is so that we can make sure one of the three versions is previewed in the master output in the control interface.
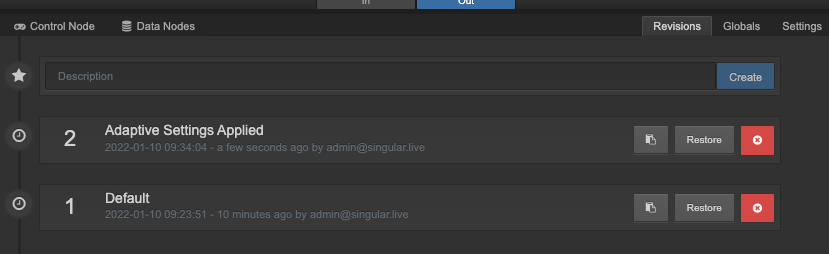
Note
You can restore a Revision we've created called "Adaptive Settings Applied" in the Revisions tab to load up a version of the Composition that has the previous steps completed.
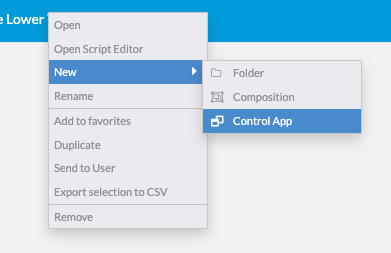
4 - Open the Composition in Studio
Close out of the Composition. Next, right click on the Composition in the Dashboard and select New . Control App. Then choose Studio 2.
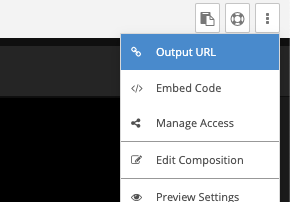
5 - Generate the Different Outputs from Control Interface
Now that you've defined which graphic elements go to which outputs and opened the Composition up into Studio, you'll need to generate the 3 final, unique Output URLs you'll use in your production workflow.
Open up the Output URL menu.
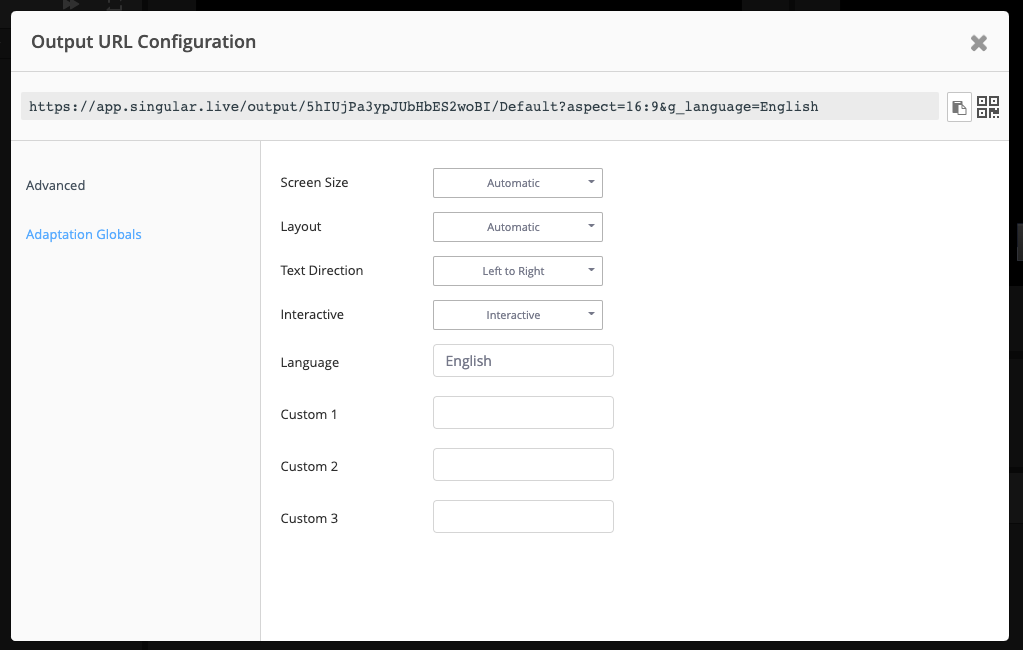
Now, head over to the Adaptation Globals area, find the Language text input area and type in English.
Output URL Menu
Then copy this uniquely generate output url up at the top of the window and open it in a new browser tab. This is your English output.
Next, type in "German", copy the German output and open it into a new browser tab. Finally, do the same and type in "Japanese", copy the last output and paste into a new browser tab.
You should now have your 3 unique outputs opened up in browser windows. If you've followed the previous steps correctly, you'll see that each language version of the lower third is assigned to their unique language outputs!
English Output:
German Output:
Japanese Output:
Play around with the sponsor name and logo for each language in the control interface and see how they populate the unique graphic versions.
Comments
1 comment